Quick Start Guide
- 16 Nov 2023
- 4 Minutes to read
- Print
- DarkLight
- PDF
Quick Start Guide
- Updated on 16 Nov 2023
- 4 Minutes to read
- Print
- DarkLight
- PDF
Article Summary
Share feedback
Thanks for sharing your feedback!
Retrospect Backup is a powerful data protection suite with a multitude of features. Before we dive into the details, let’s walk through a simple example of using Retrospect Backup to protect a Word document on your desktop.
First Launch Experience
Retrospect Backup has been protecting data at homes and businesses since 1989. Getting a first backup can mean the difference between success and failure as a business, and Retrospect Backup has a simple workflow to simplify that experience while making it easier for new users to see what will be backed up.

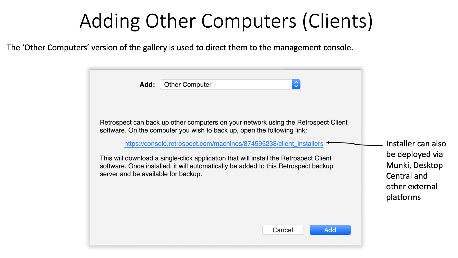
The backup wizard starts with a single screen, showing sources and destinations with a default backup selector. Finish with a single click or add new data sources or destinations. With deep integration with Retrospect Management Console, Retrospect Backup makes it easy to send a single download link to an entire company for everyone to download the Retrospect Backup agent, install it with a single click, and let Retrospect Backup take care of the rest.
Under the hood, Retrospect Backup includes new features like 10x faster automated generation for public/private keypairs with seamless upload to Retrospect Management Console and embedded unique trial licenses to remove any barriers to getting that first backup.
Backup
We are going to back up the Word document, and then we are going to restore it.
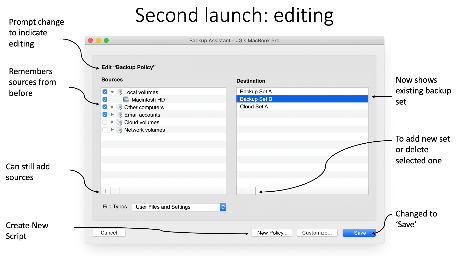
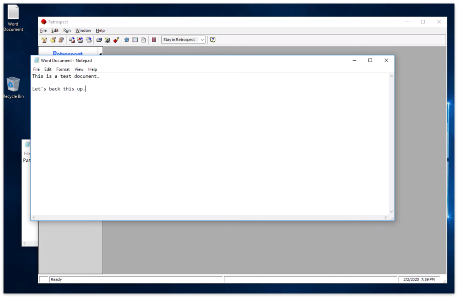
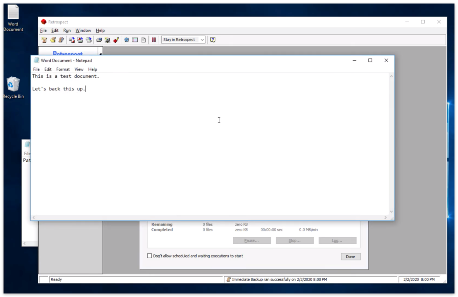
You see the Word document at the top left of the screen on the Desktop. Let’s back up the Word document using Backup Wizard. The Backup Wizard is how you set up your backup strategy using sources (volumes and clients), backup sets (destinations for your backups), and scripts (the backup plan for your sources and sets).
Here is our document that we are going to back up.
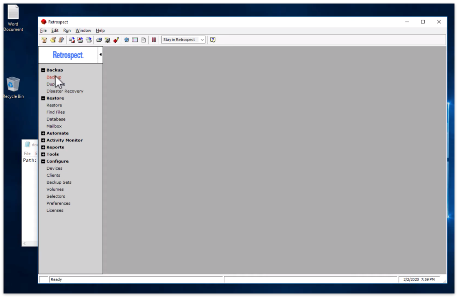
In Retrospect, select "Backup" on the left navigation.
In Backup Wizard, select "Set Up Custom Backup".
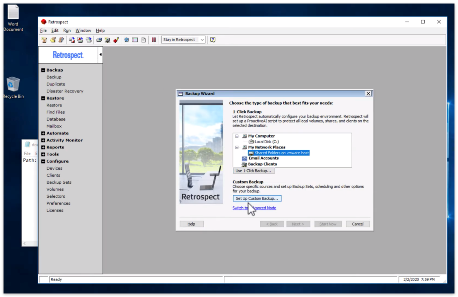
For this guide, we will switch to "Advanced Mode". "Wizard Mode" has a great set of features for protecting your entire computer, but "Advanced Mode" makes it easy to configure a backup of just the Desktop. Click "Sources".
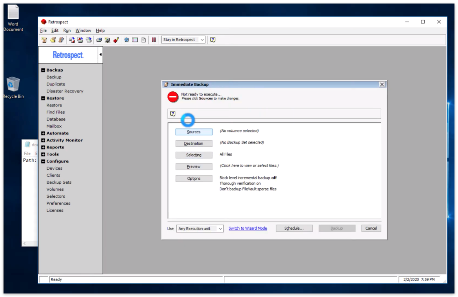
We are going to back up only the Desktop. Select "Local Disk", select "Subvolume…", navigate to the Desktop, and click "Define". You have now defined "Desktop" as a subvolume to back up, allowing you to protect only the Desktop. Now select "Desktop" and click "OK".

Click "Destination".
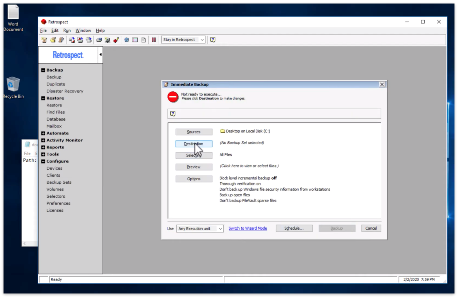
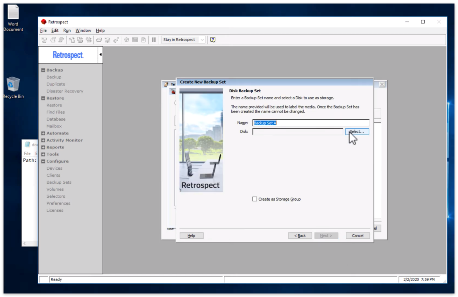
We are going to create a Backup Set for the destination of your backups. Click "Create New".
Select "Disk" and click "Next". You could also pick a different type of backup set, like a Tape Set or a Cloud Set.

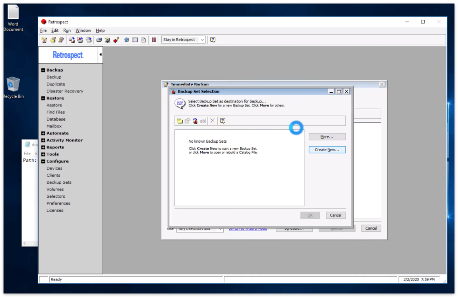
Type in a name for your backup set, and then click "Select…".
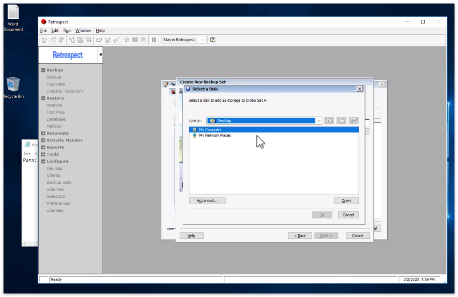
You can now select where you want your backups to be stored. If you have an external hard drive, it will appear here. If you want to use a NAS share, use "Advanced…" to type in its network path. For this demo, we will type in a path.
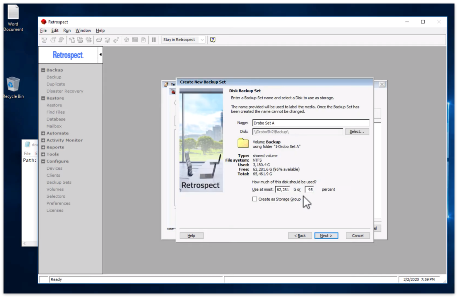
With your media selected, you can adjust the amount of storage that your backups can take up. You also have the option of using a Storage Group rather than a backup set. Click "Next".
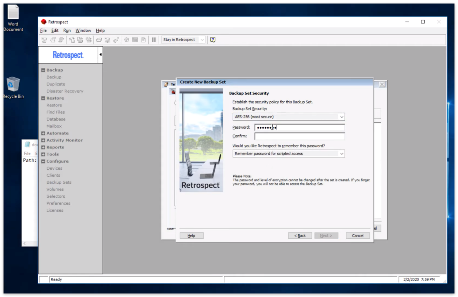
Your backup set can be encrypted. Retrospect supports AES-256 encryption for extremely secure backup data. Only you have access to the data, even if you store it in the cloud. Please write down the password, because no one can decrypt your data if you lose it.
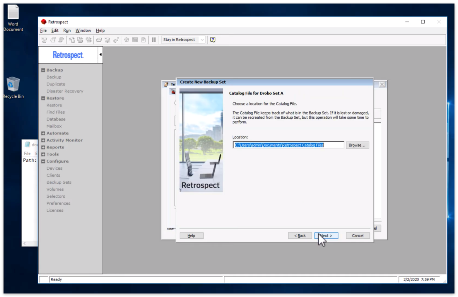
Select the destination for your backup set’s catalog. The catalog is where analytics about your backup set are stored.
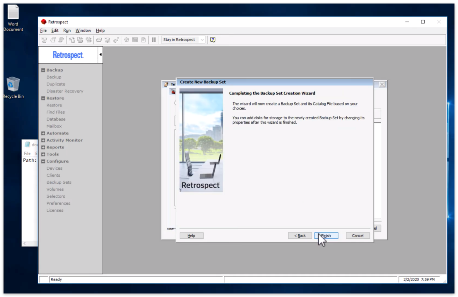
You have now created a backup set. Click "Finish".
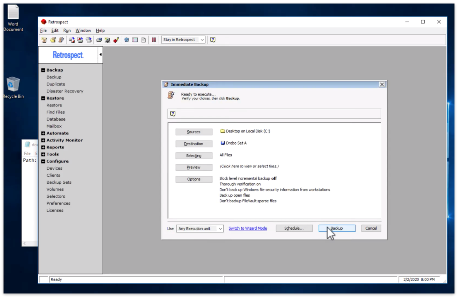
With the source selected and the destination backup set selected, you can start your backup. Click "Backup".
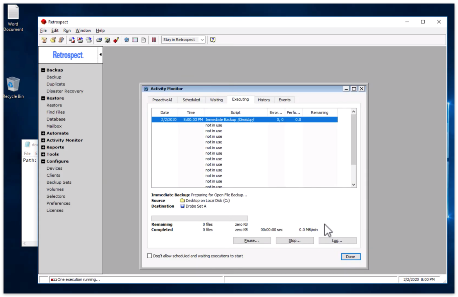
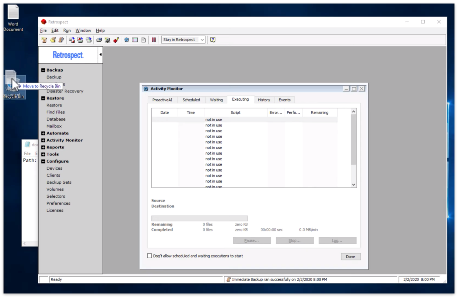
You can see the backup is running. Your Desktop is being backed up to your destination.
Restore
Let’s now delete the Word document from the Desktop and restore it with Retrospect.
We moved the Word document into the Recycle Bin.
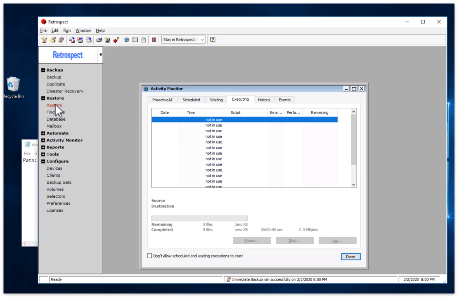
To restore the document, click "Restore" in the left navigation to launch the Restore Wizard.
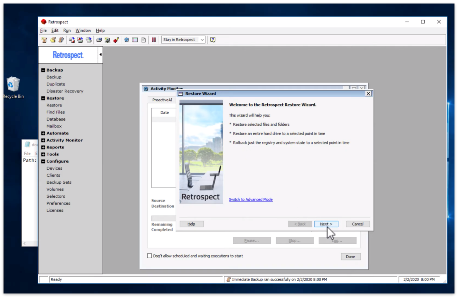
In the Restore Wizard, select "Next". We will use "Wizard Mode", but "Advanced Mode" is also available.
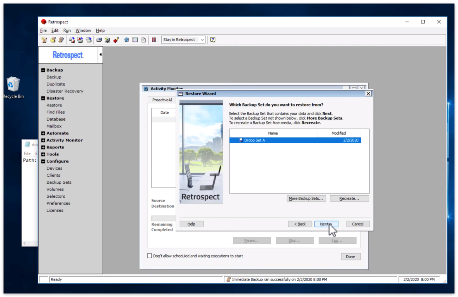
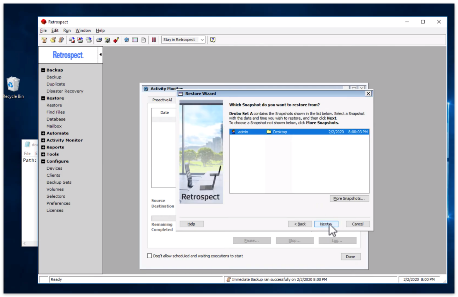
Select the backup set the Desktop was backed up to. Click "Next".
Select the backup for your Desktop. It will be listed with the user and the date of the backup.
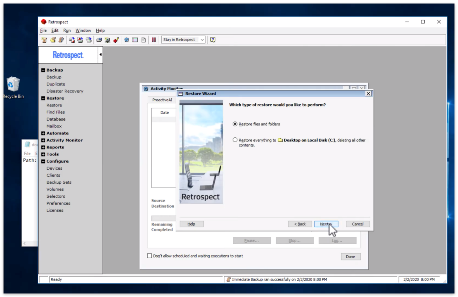
You can decide where to restore the files to. In this case, we will use "Original location".

For the type of restore, you can either select which files to restore, or you can restore everything, making a point-in-time restore of the source and deleting all other contents. For this guide, we will use "Restore files and folders".
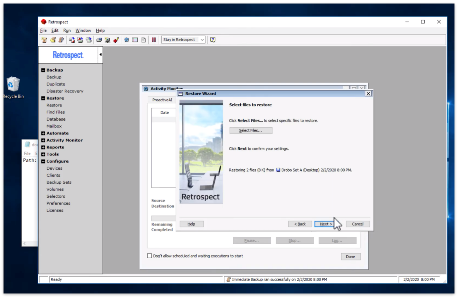
Click "Select Files…".
Click the checkmarks next to the files you want to restore and click "OK".
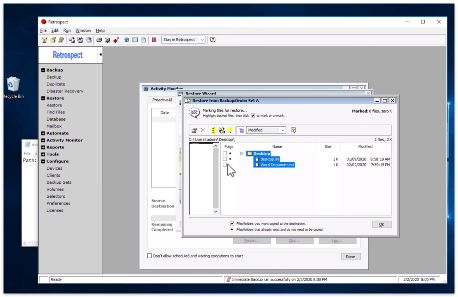
Retrospect offers different ways to restore your files. You can replace always existing files, replace them if the backed up file is newer, or never replace them. In this case, we will use "Never".

You can see your restore summary. Click "Start".
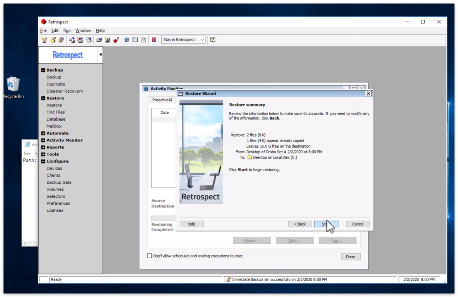
Your restore is complete.

You can see the file is restored to the desktop.
Was this article helpful?