Cloud Deployment - Getting Started with Retrospect Virtual on Amazon AWS EC2
- 13 Nov 2023
- 1 Minute to read
- Print
- DarkLight
- PDF
Cloud Deployment - Getting Started with Retrospect Virtual on Amazon AWS EC2
- Updated on 13 Nov 2023
- 1 Minute to read
- Print
- DarkLight
- PDF
Article Summary
Share feedback
Thanks for sharing your feedback!
White Papers

Amazon AWS is Amazon’s cloud platform with a wide variety of services. Retrospect Virtual is a flexible backup solution that you can deploy to Amazon AWS in a virtual machine instance and connect to your on-premise network using a site-to-site connection and a virtual private network.
Account Setup
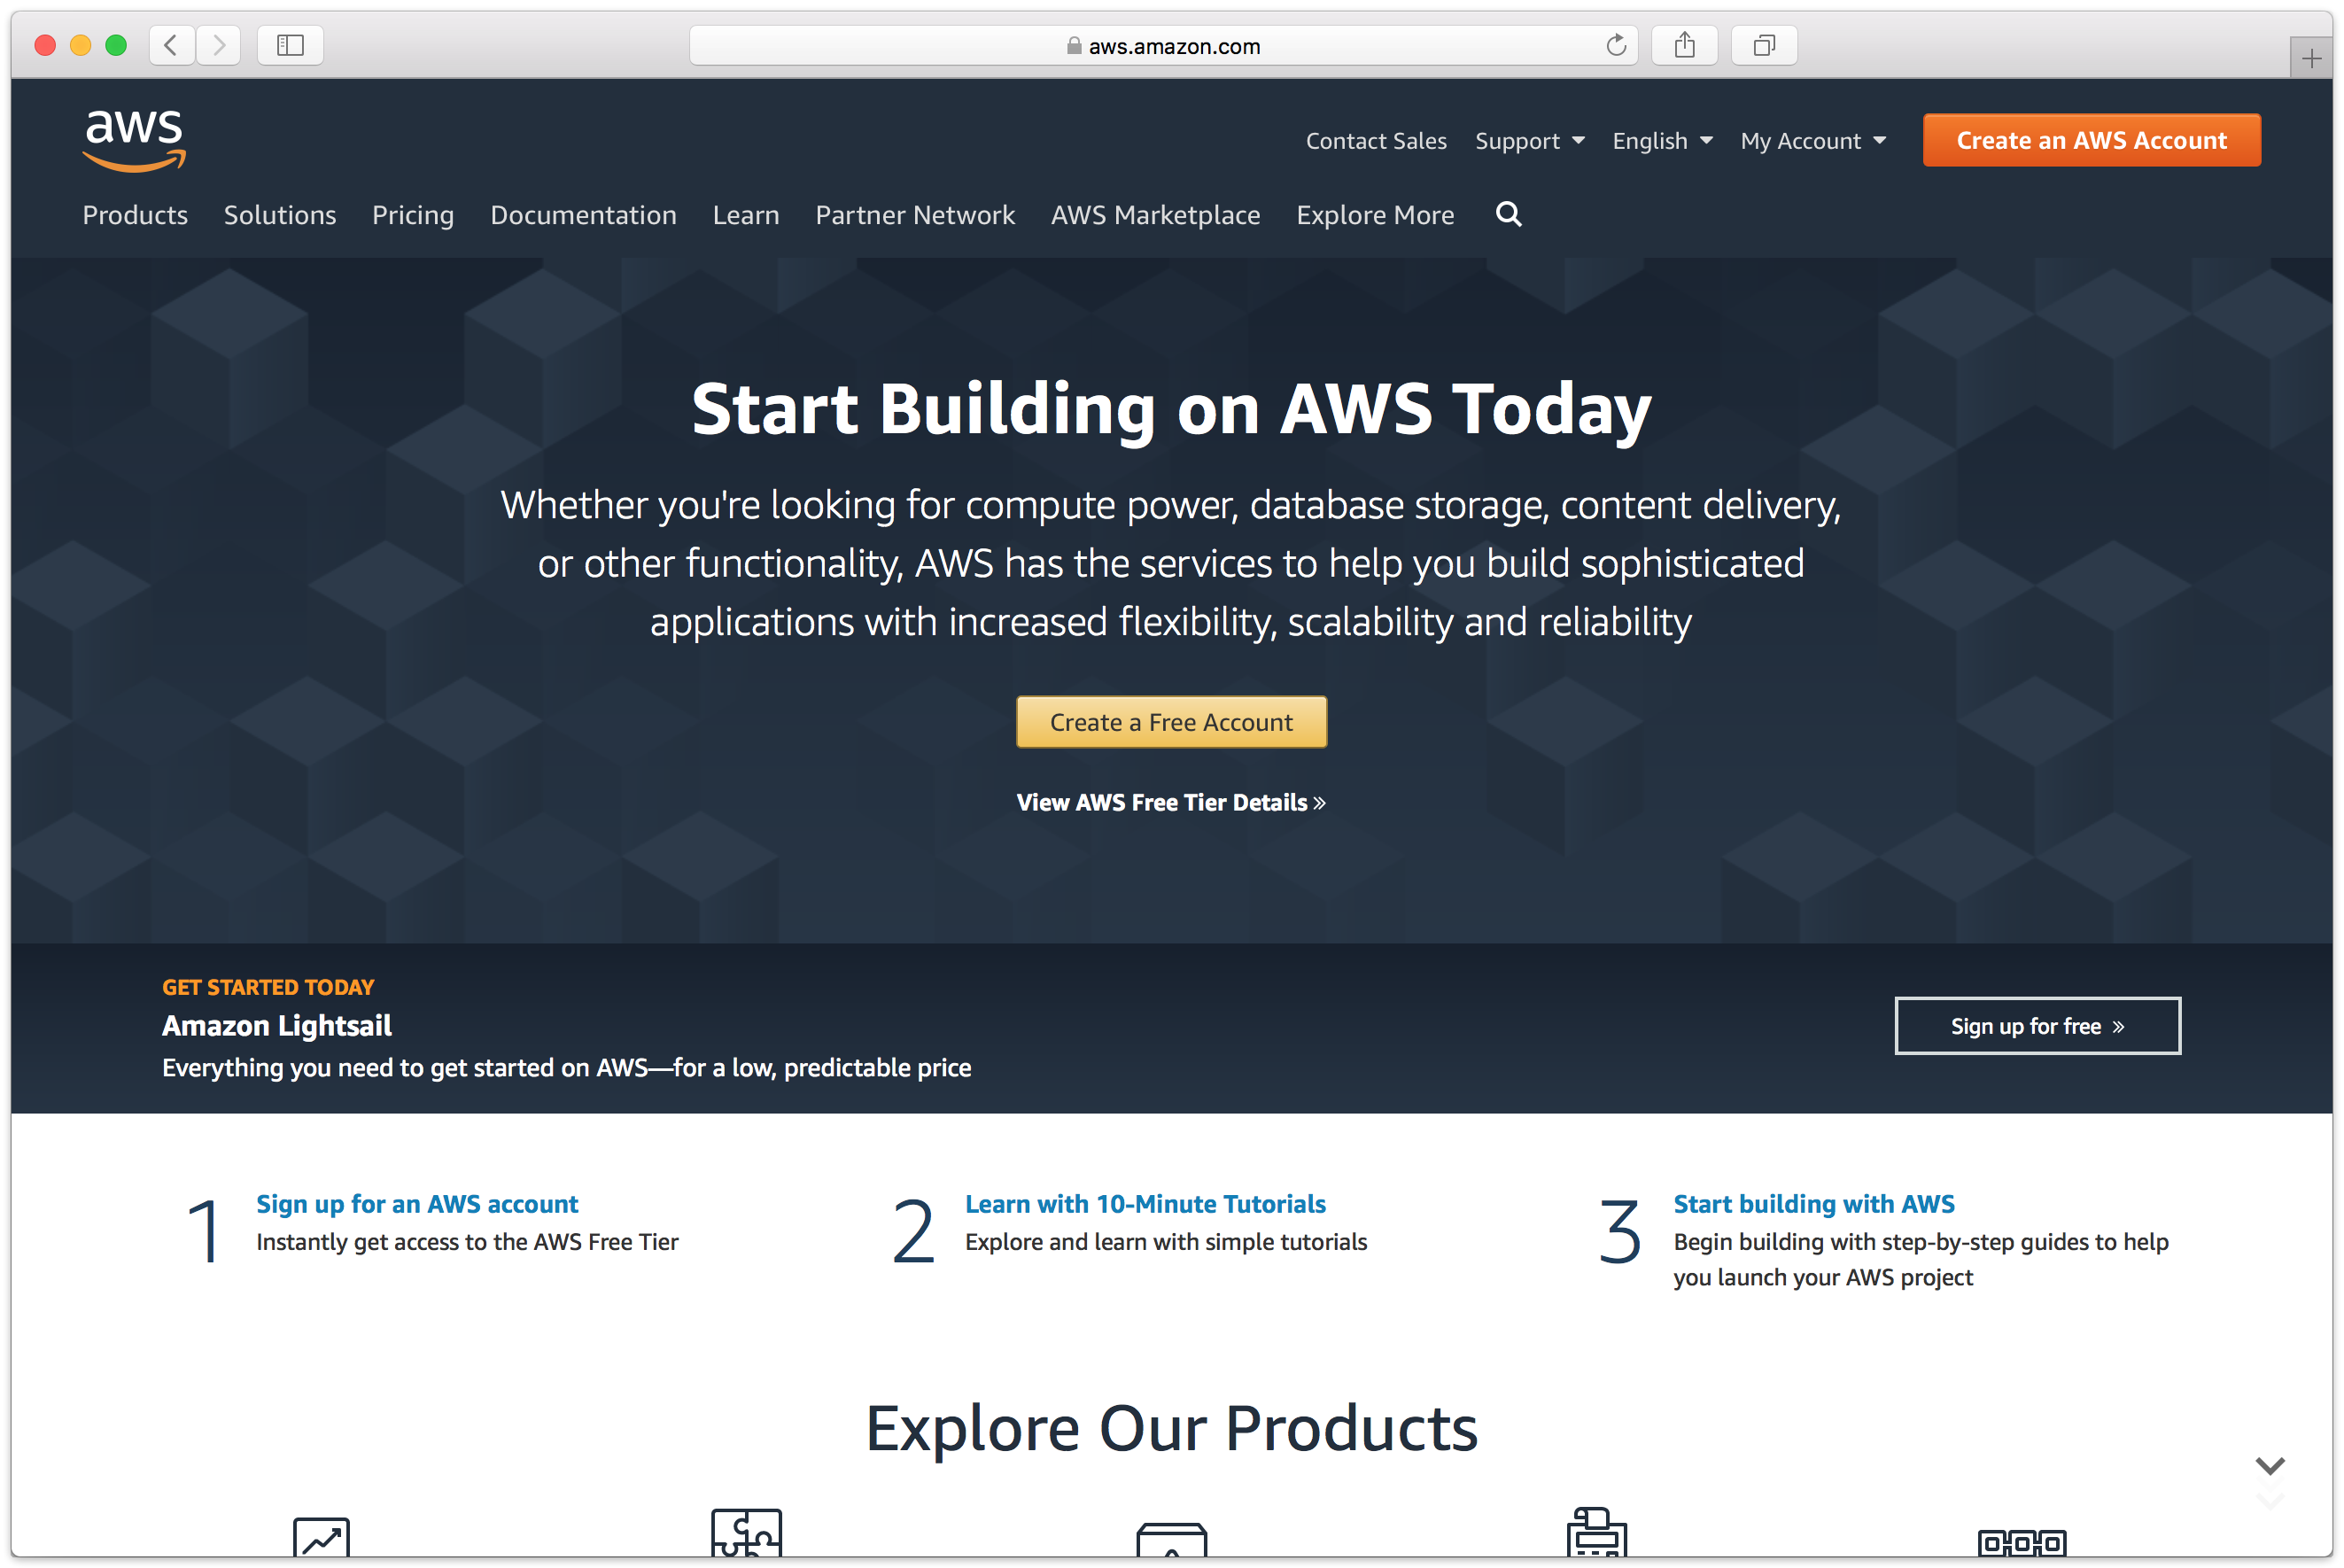
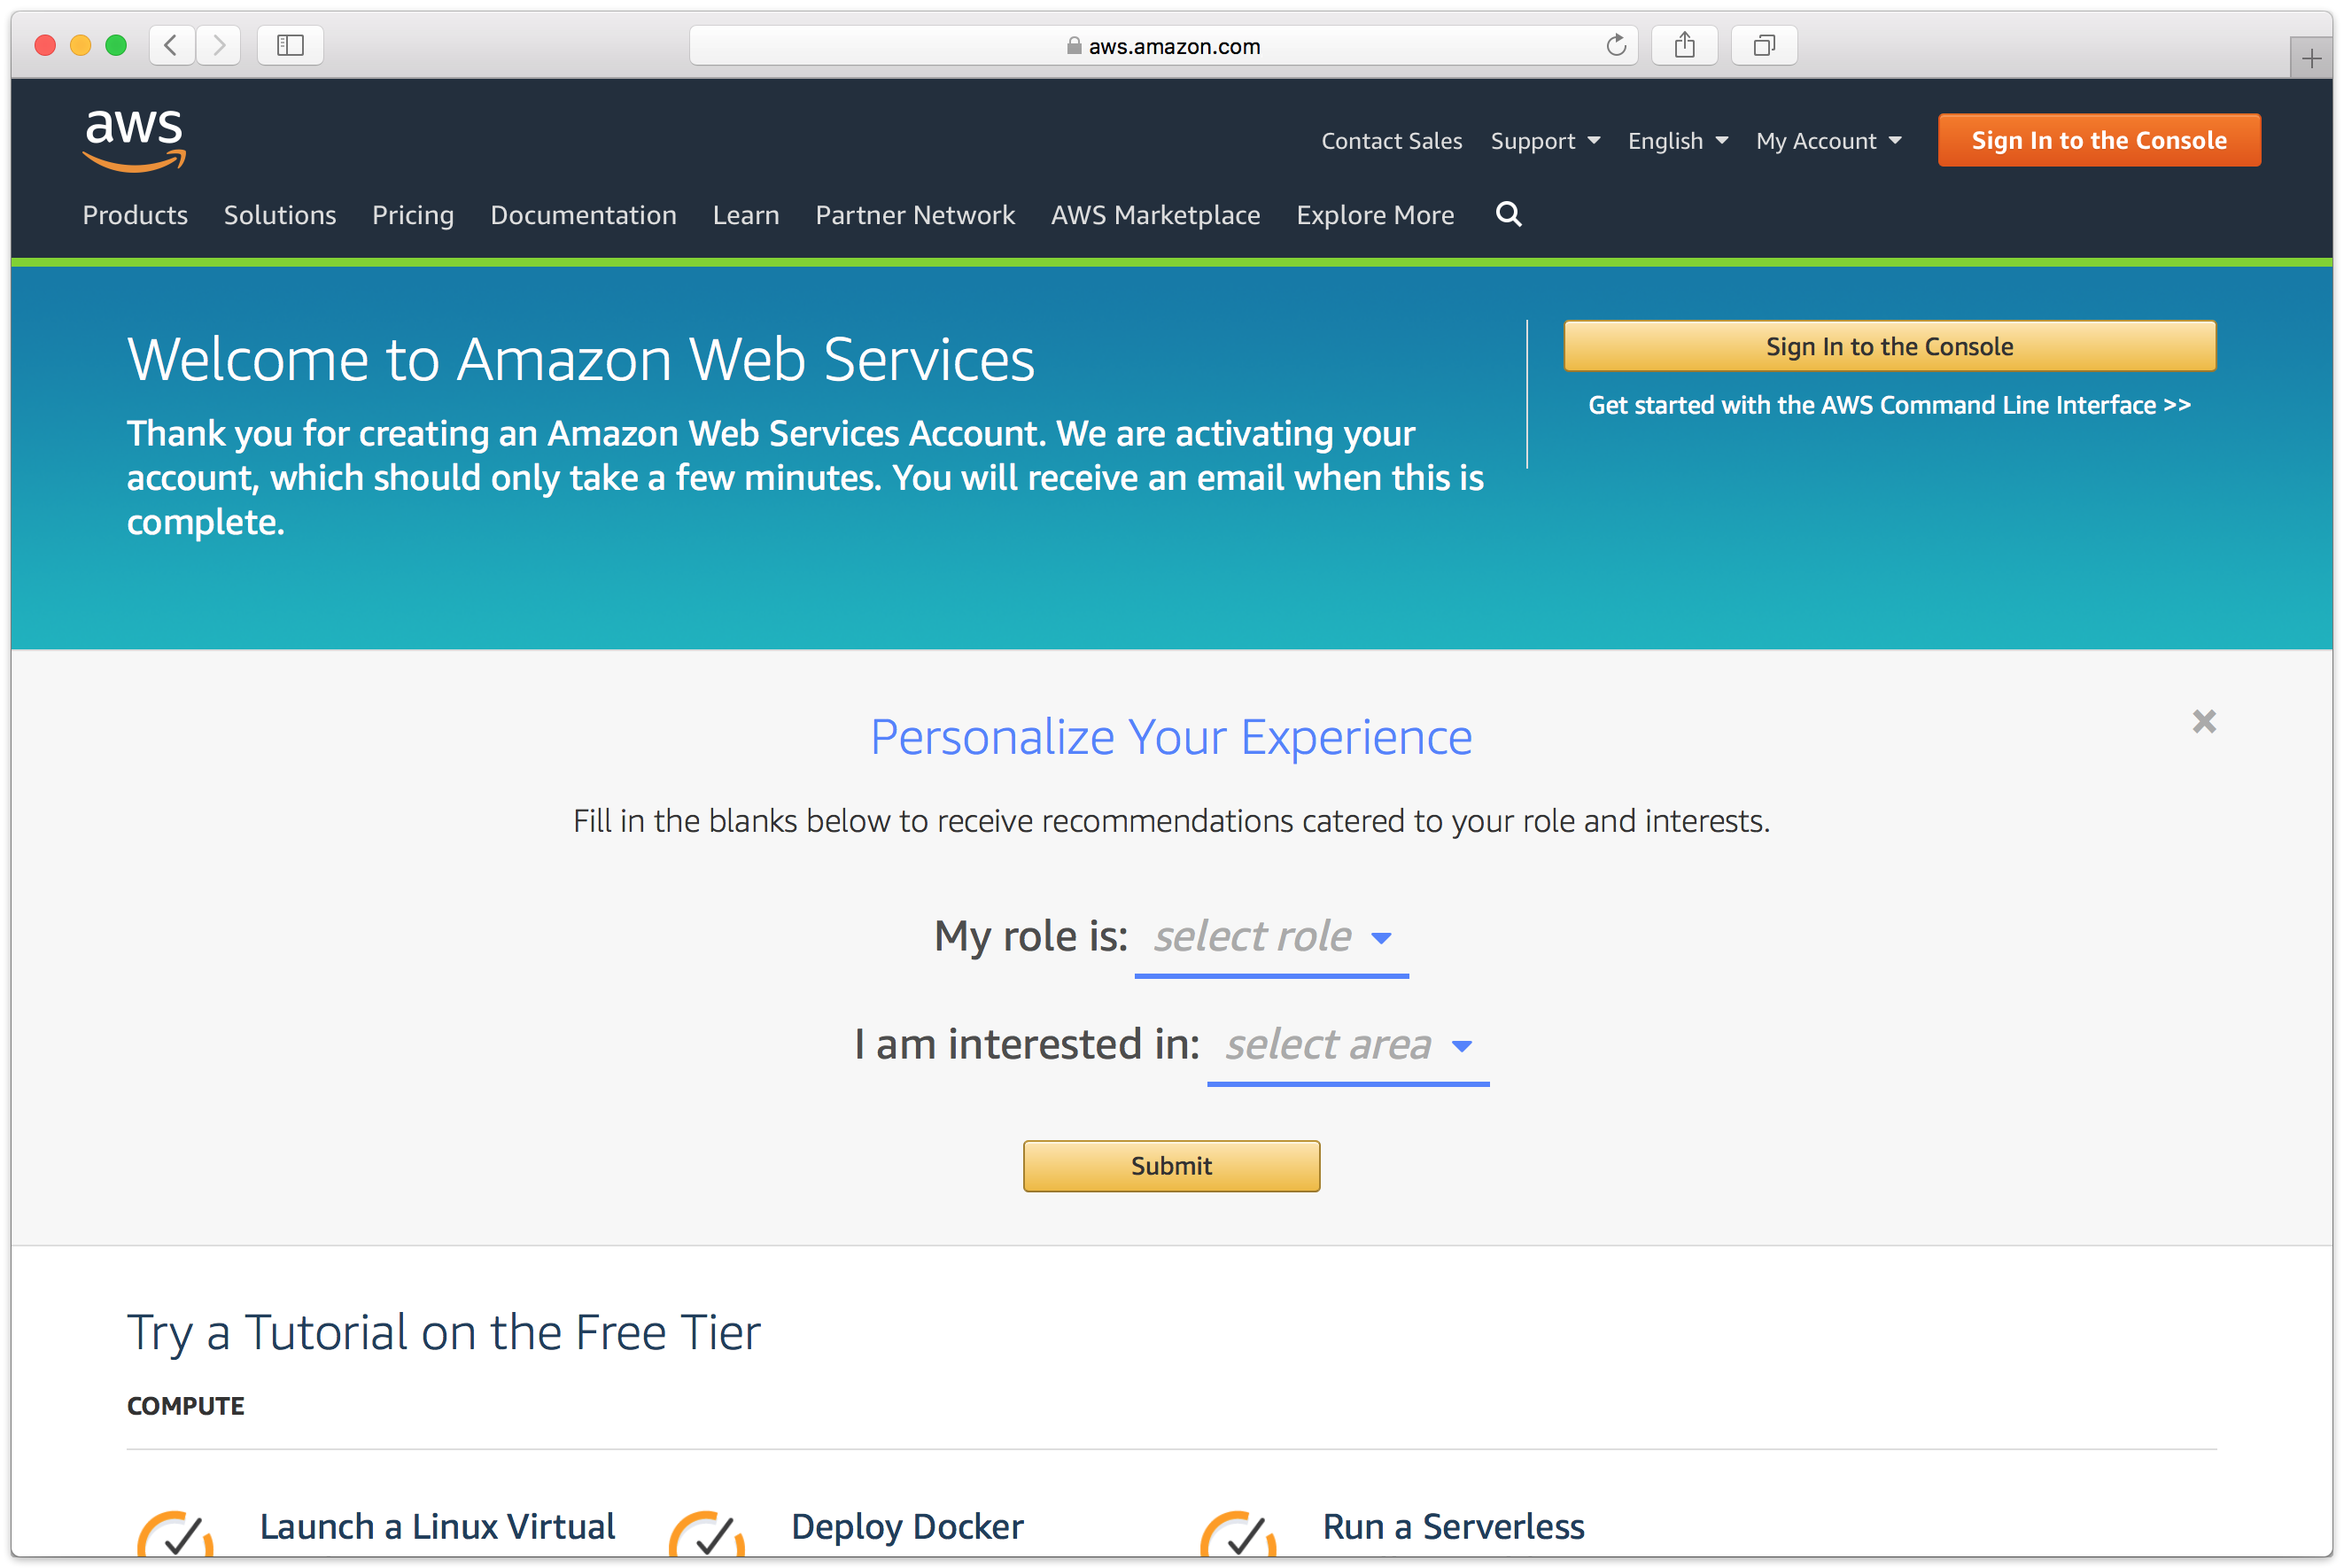
Follow these steps to quickly create a Amazon AWS Account. If you do not already have one, create one for free at Amazon AWS.
See the following video or the steps below to quickly create an Amazon AWS account.
- Visit Amazon AWS to start the account creation process and click "Create an AWS Account".
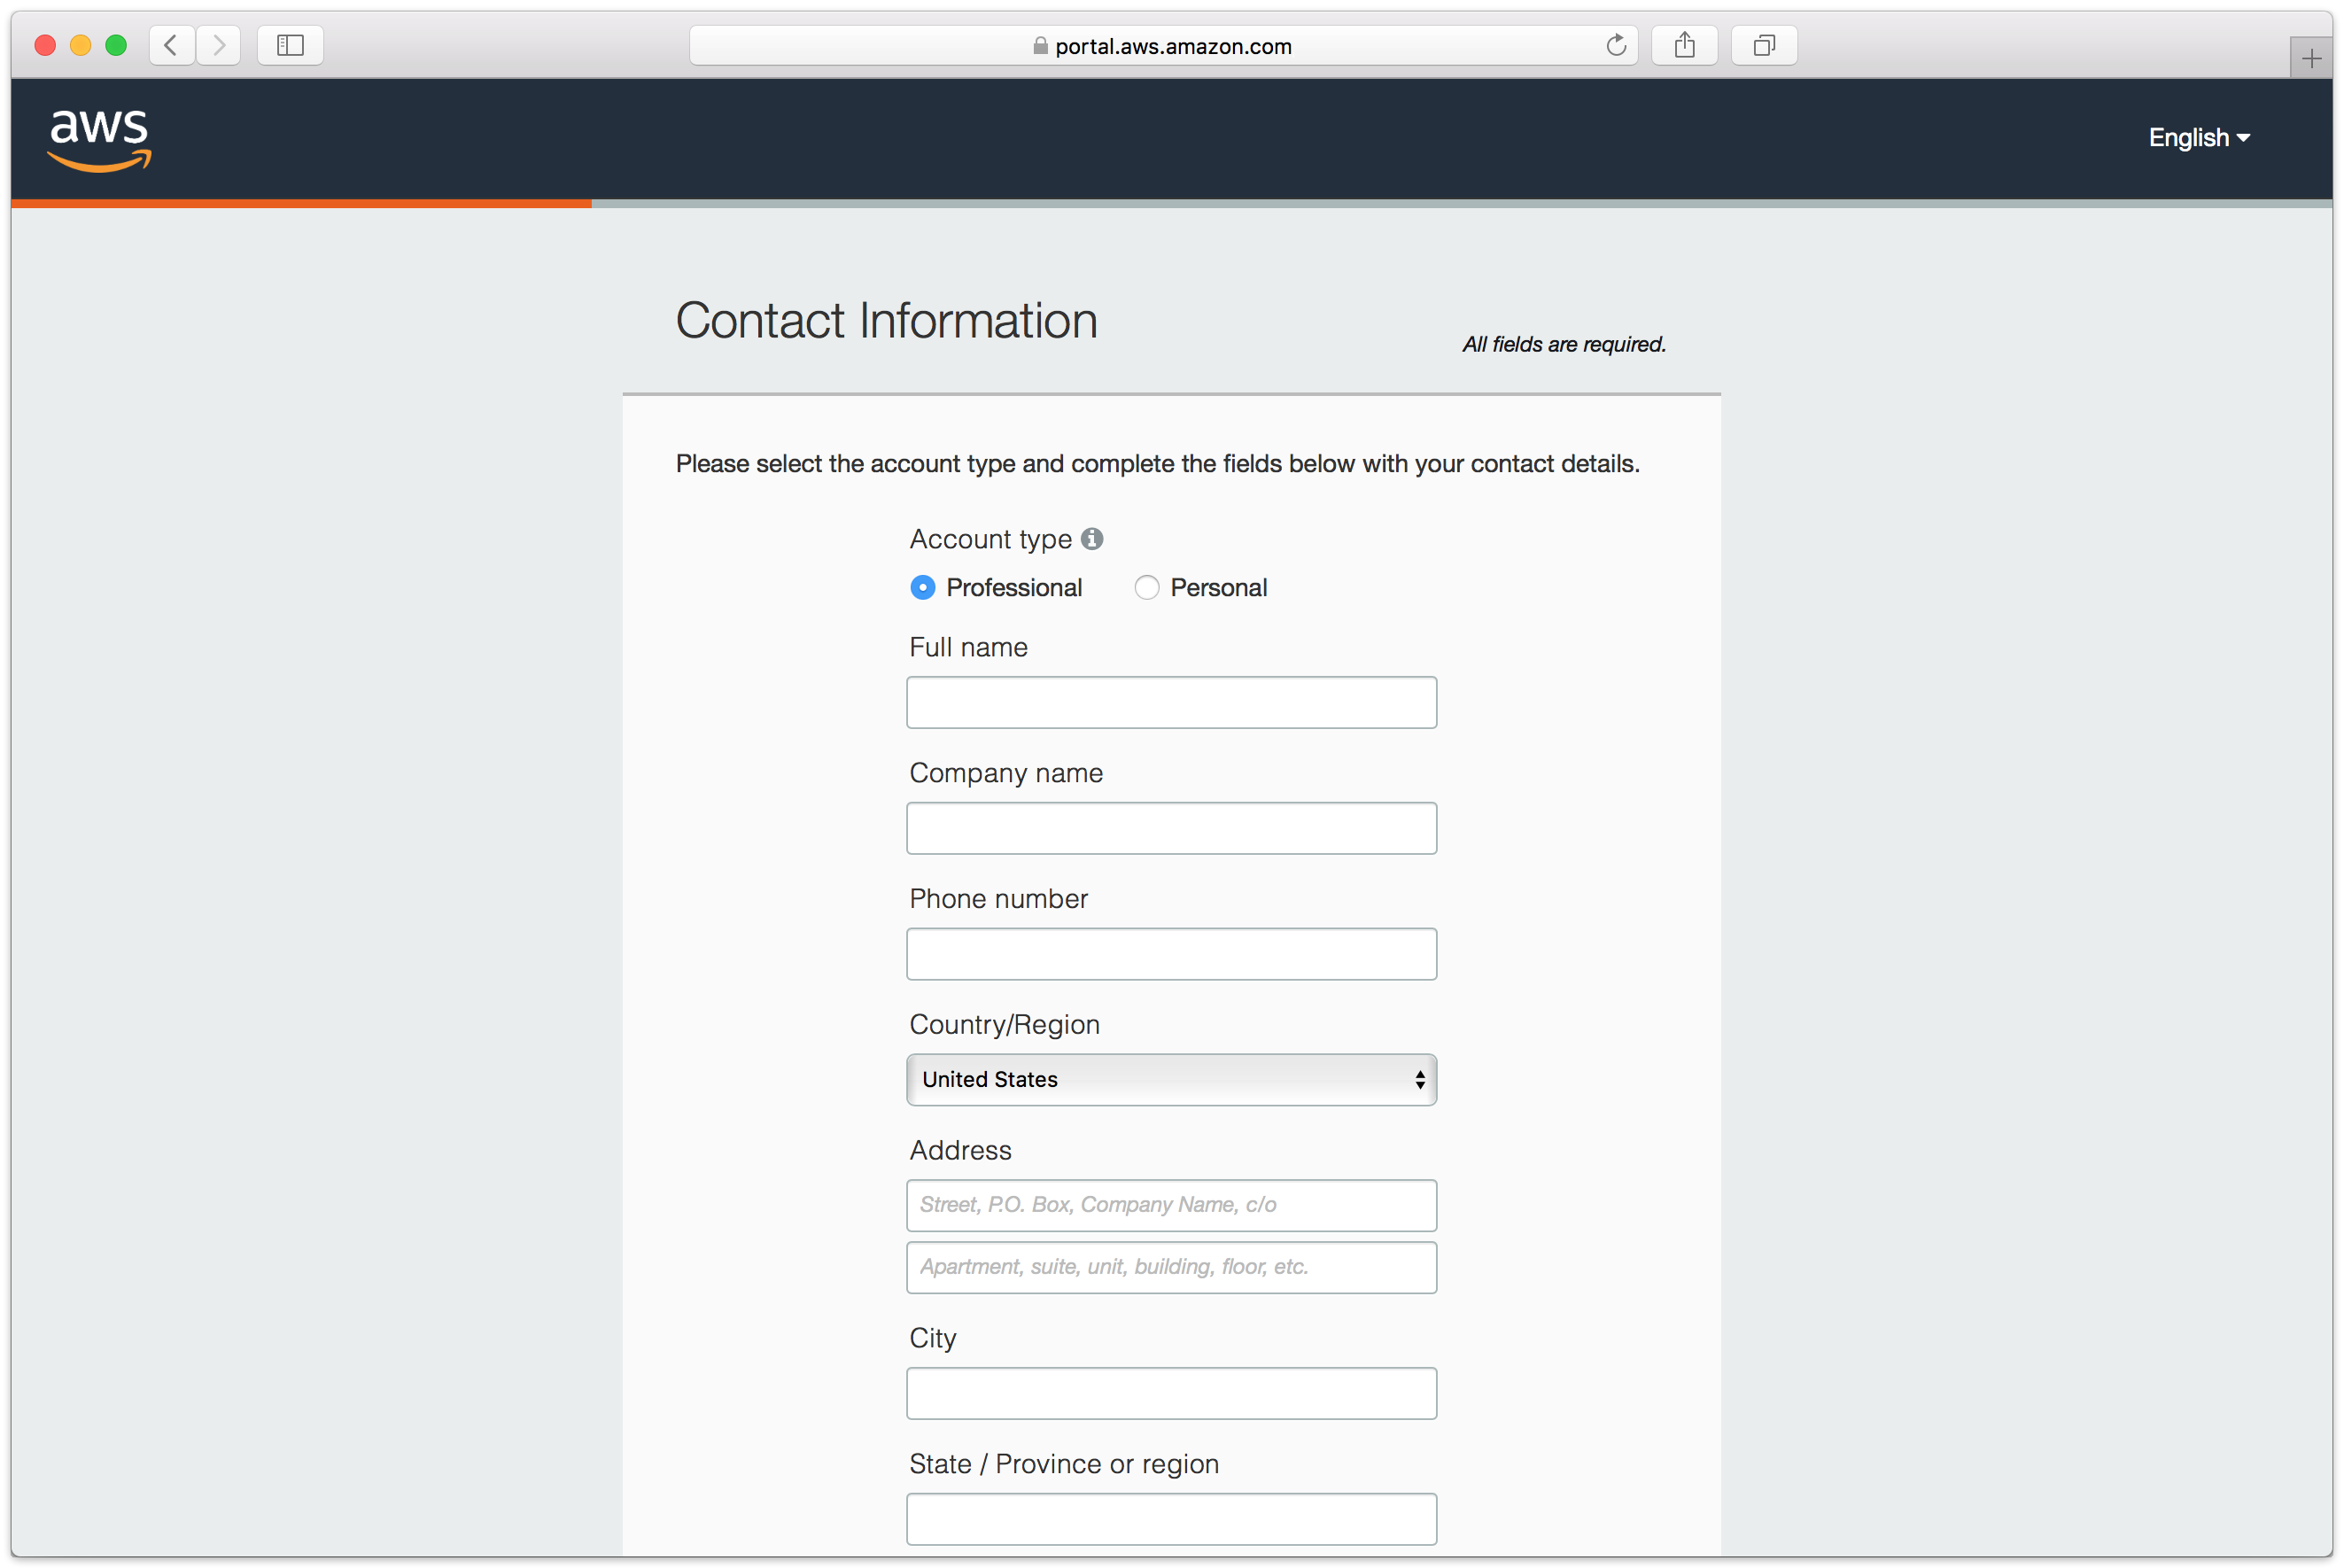
- Fill in an email address and password.

- Complete the contact information form.
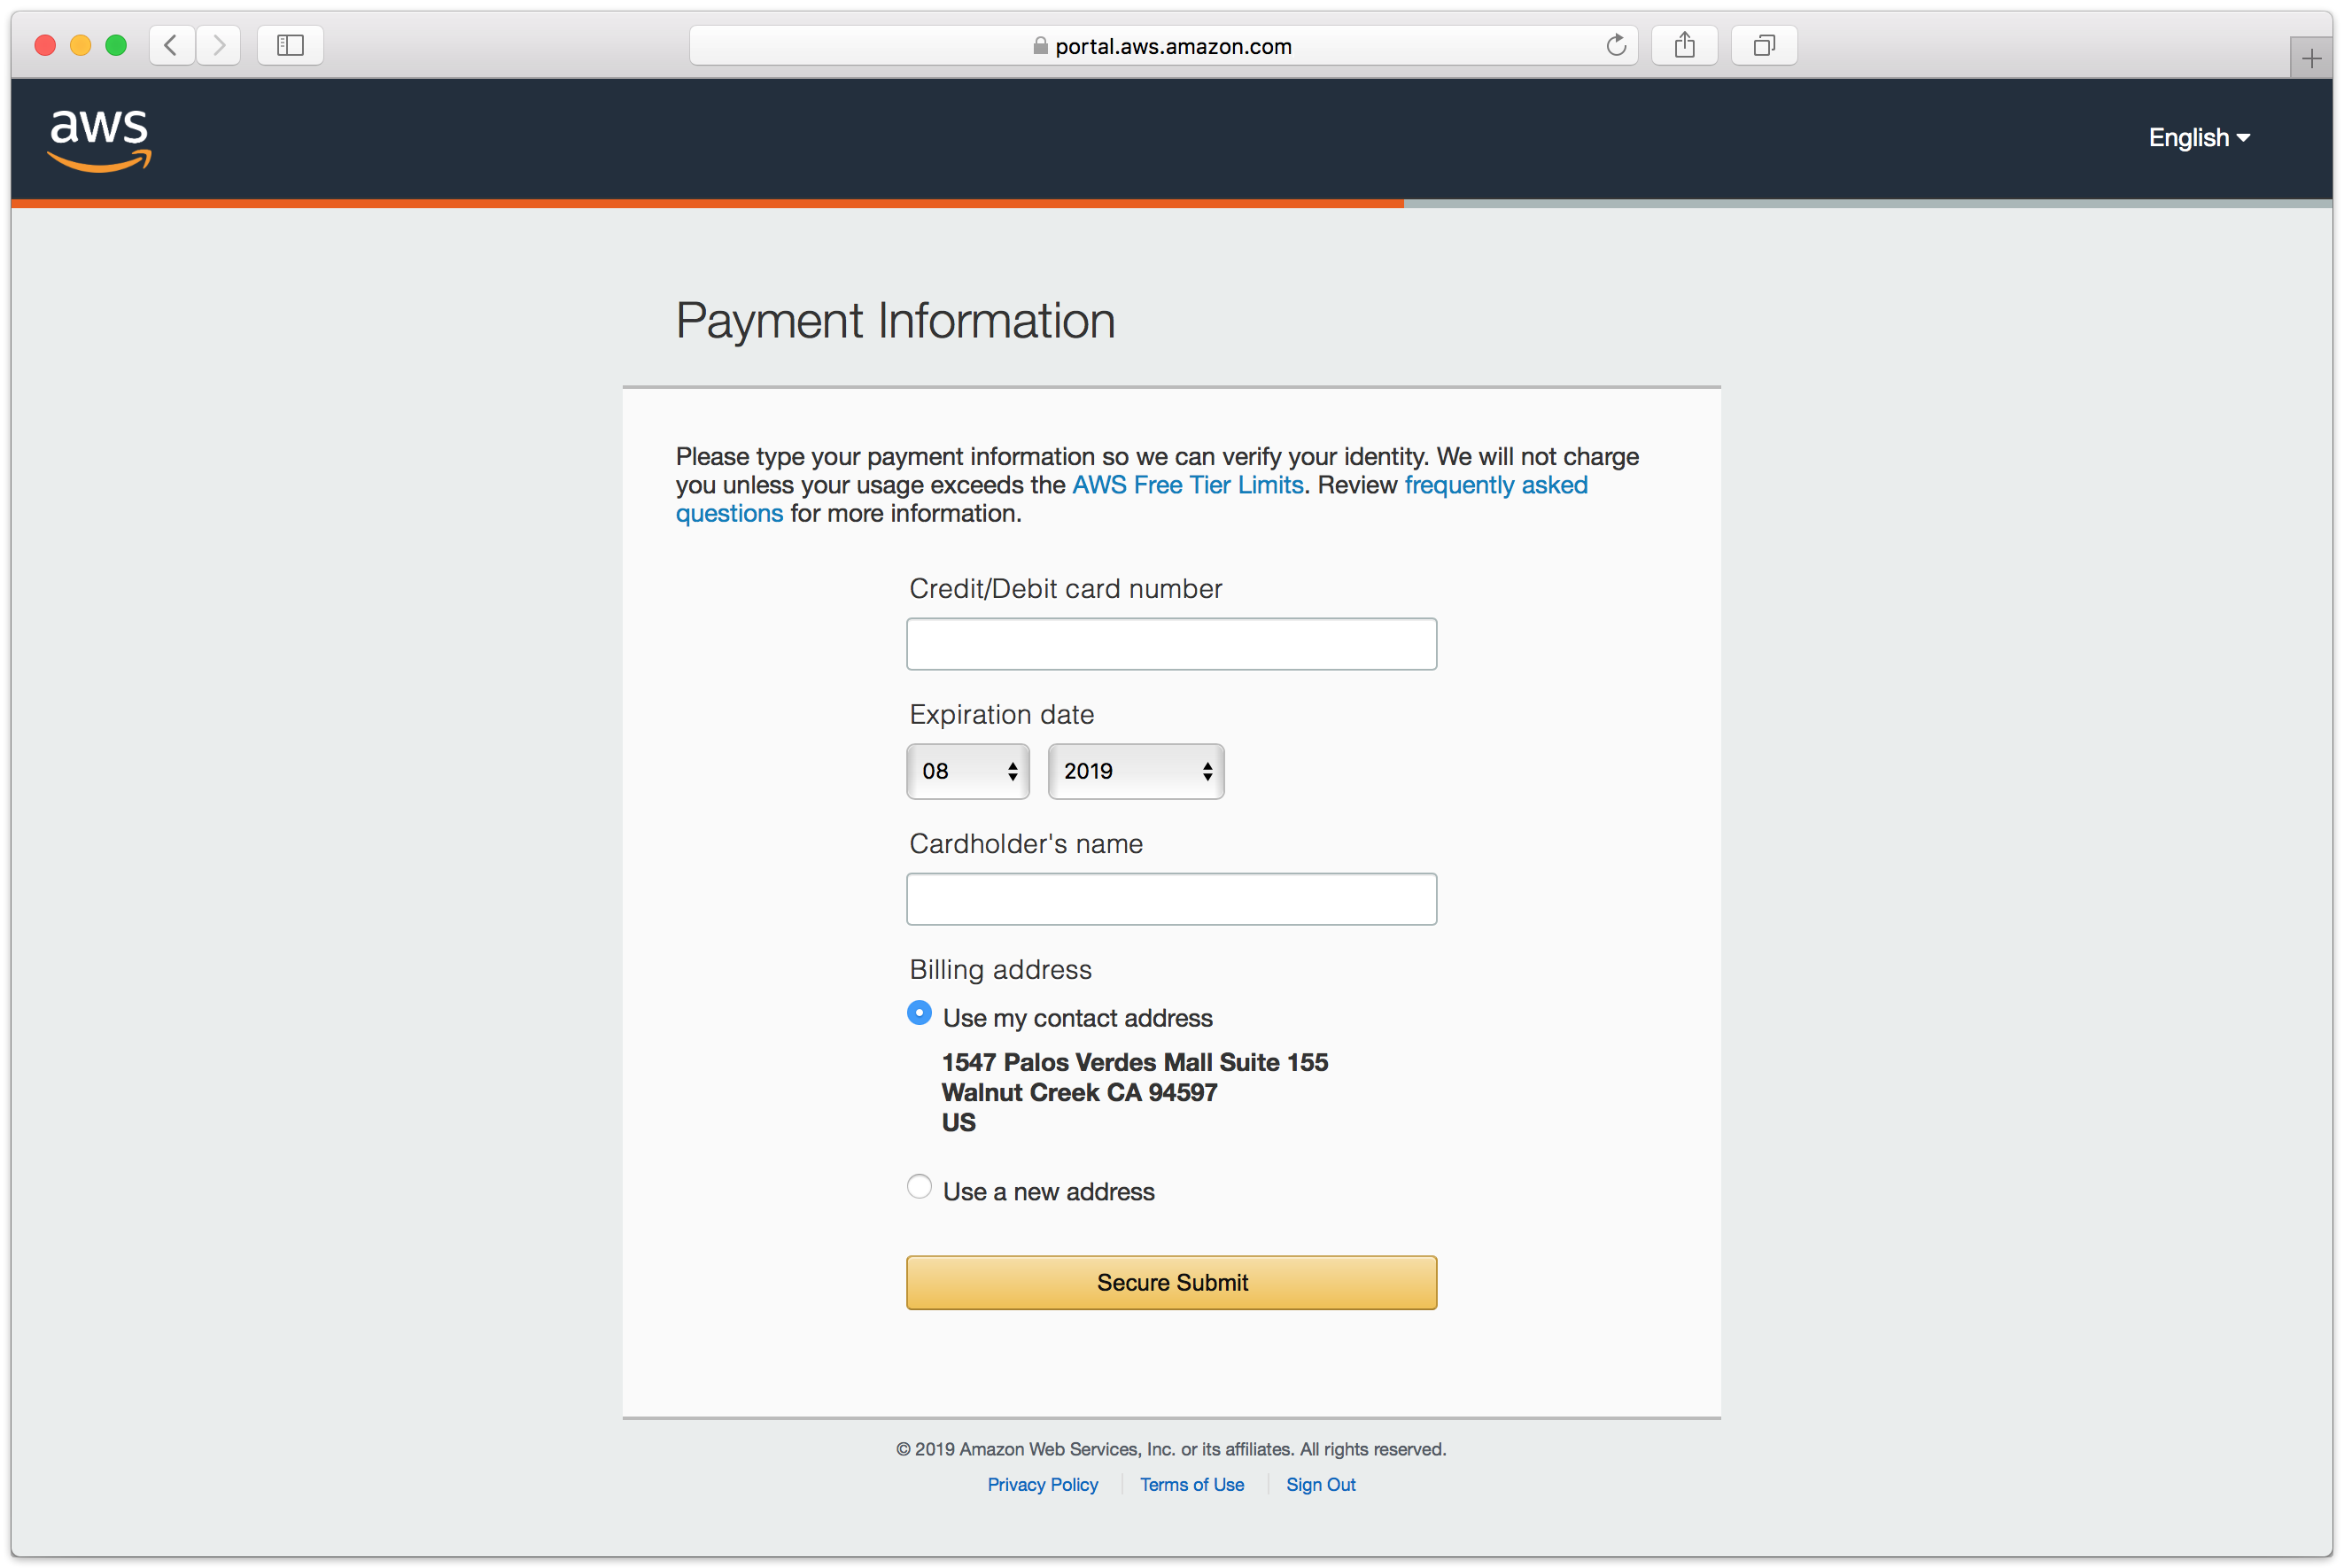
- Complete the payment information form.
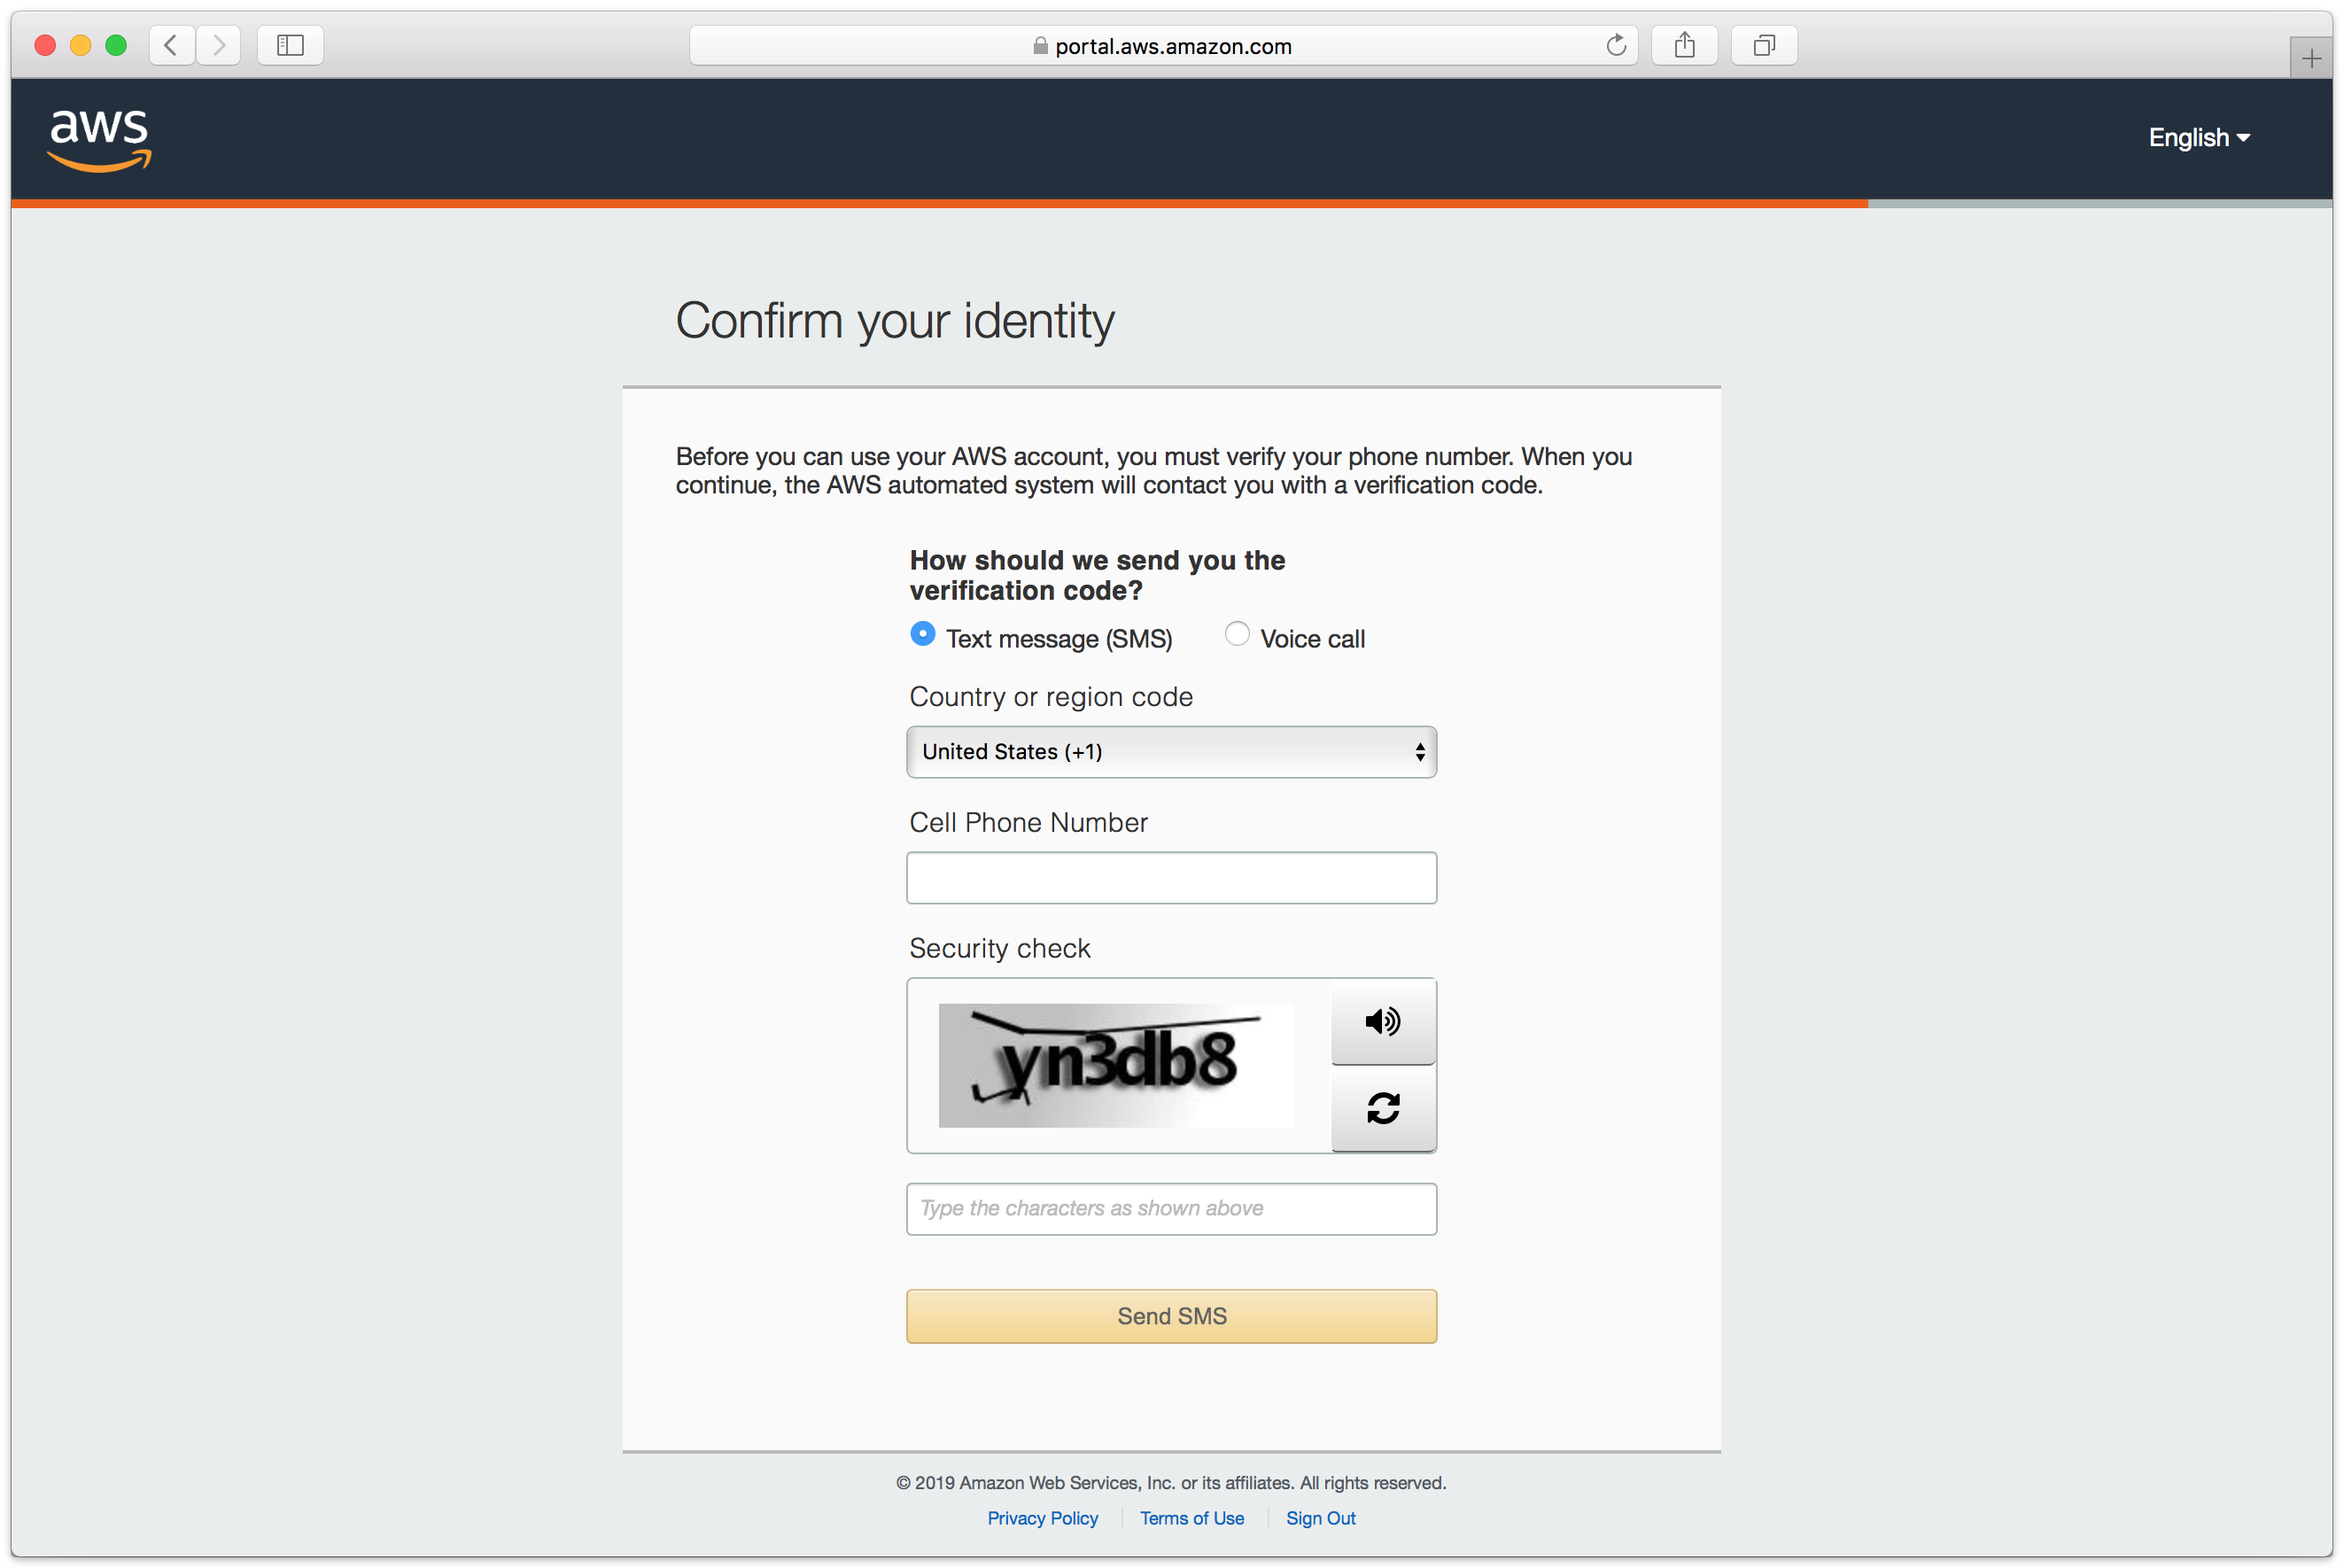
- Complete the identity verification.
- Select an appropriate Support Plan.
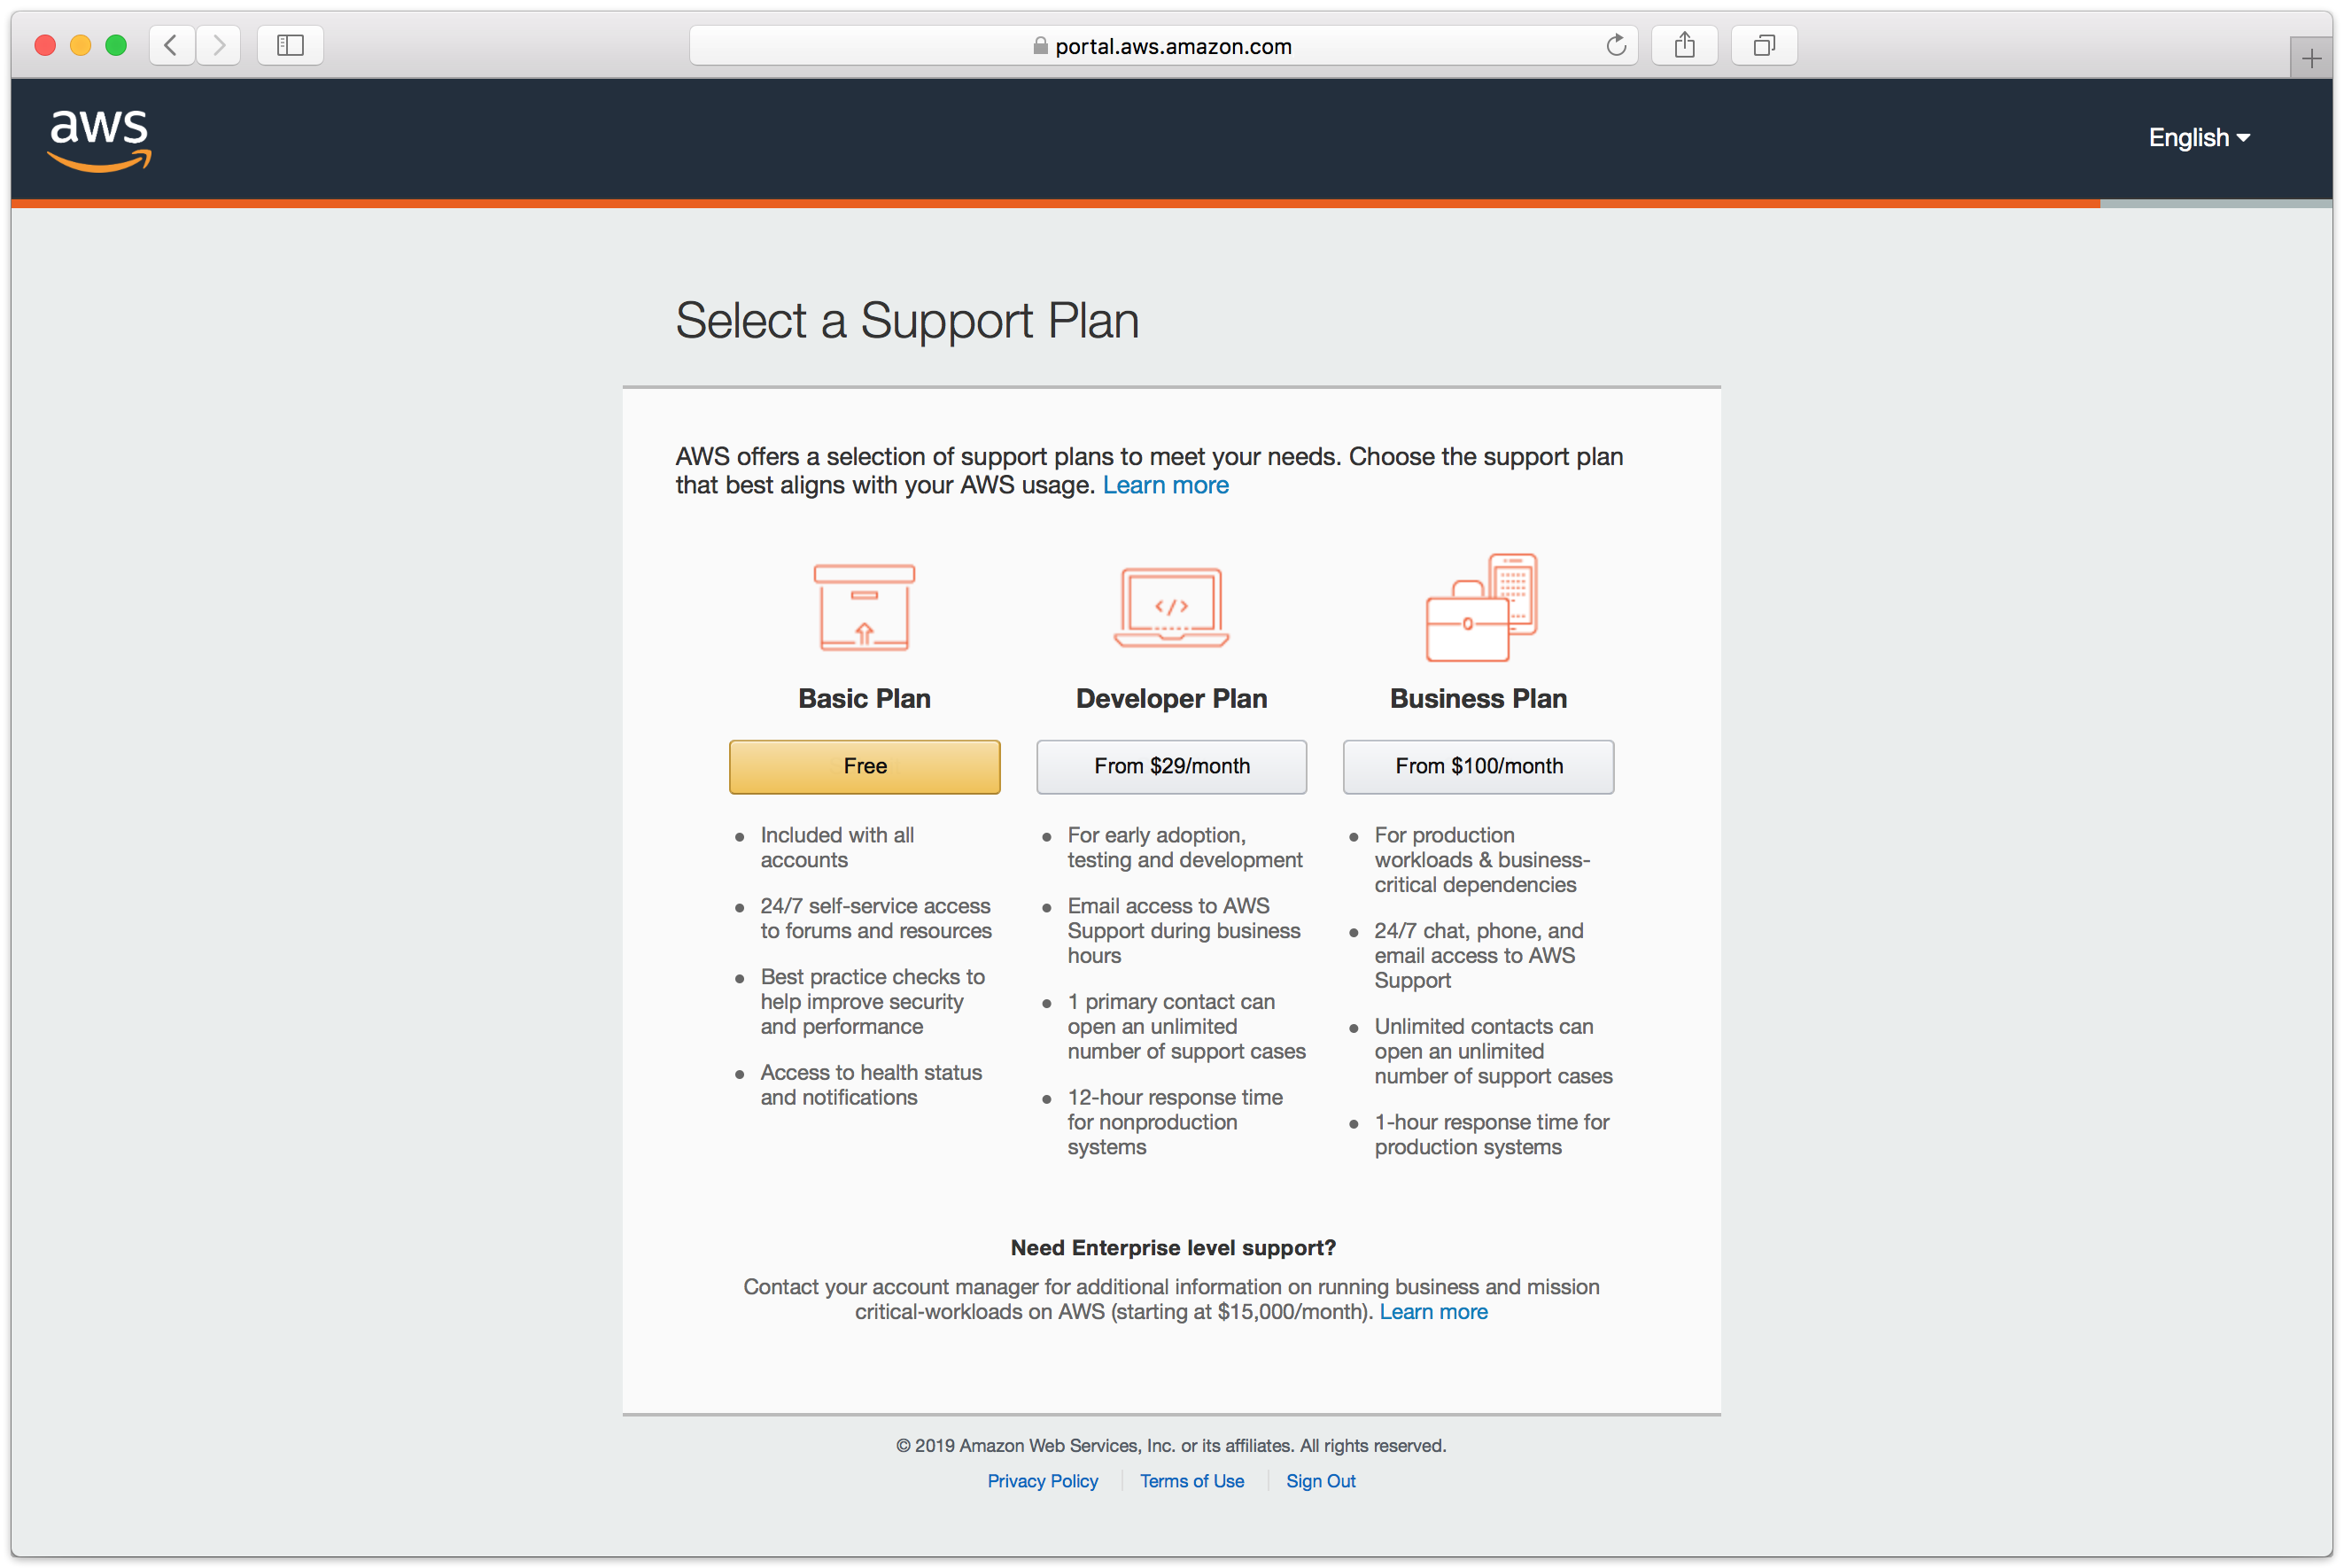
- The new account is created.
Cloud Deployment
Retrospect Virtual can be installed on any modern Windows OS, both server-level and endpoint-level, including Windows Server 2019. To deploy in AWS EC2, you will need to create a Windows virtual machine and install Retrospect on it.
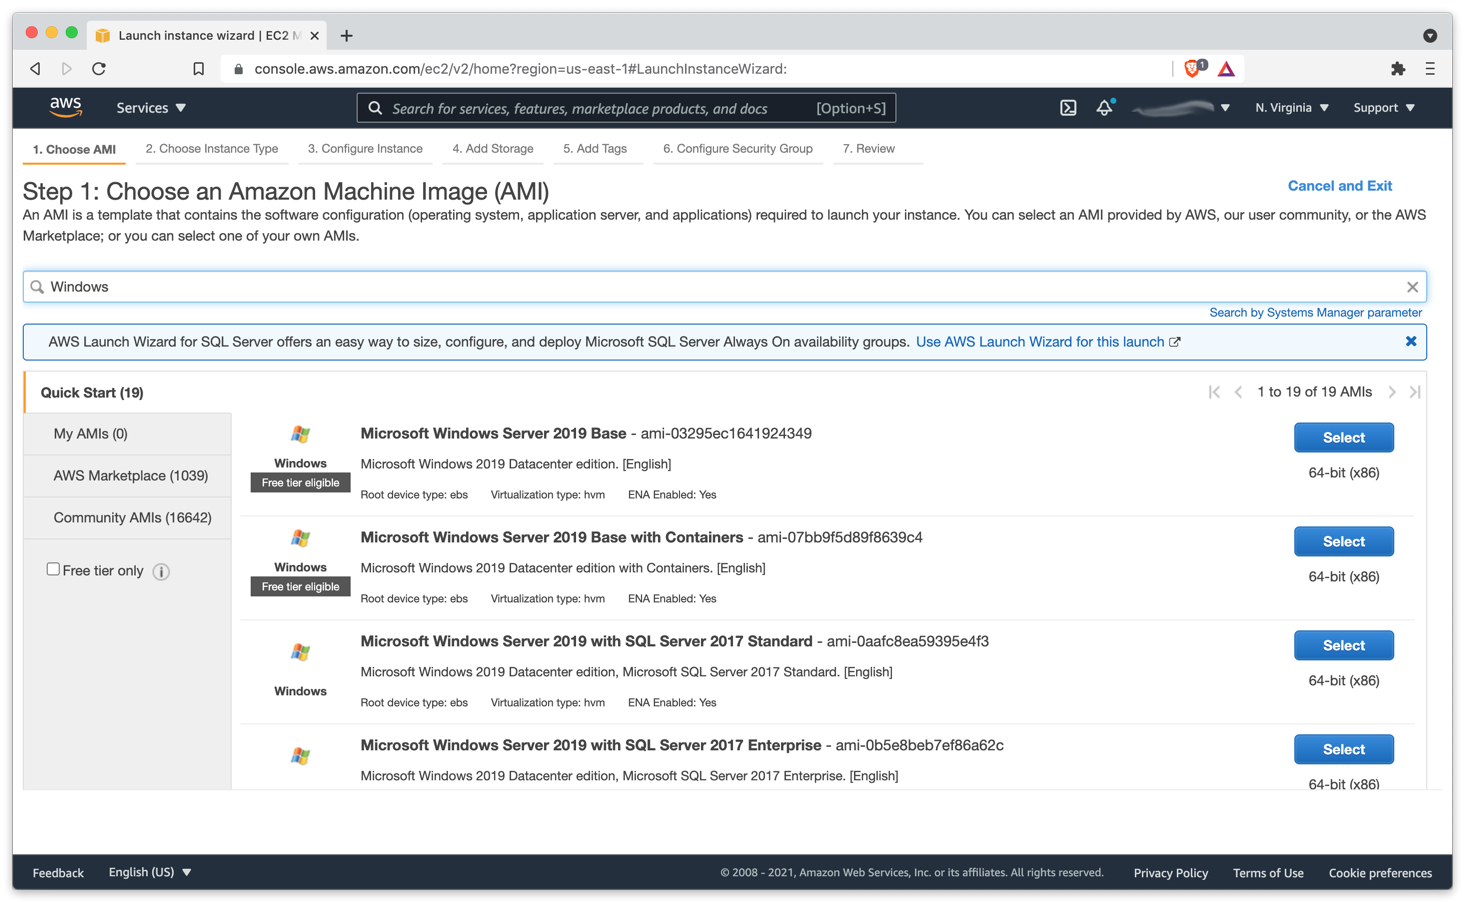
- AWS Console: Visit "EC2" and click "Launch Instance".
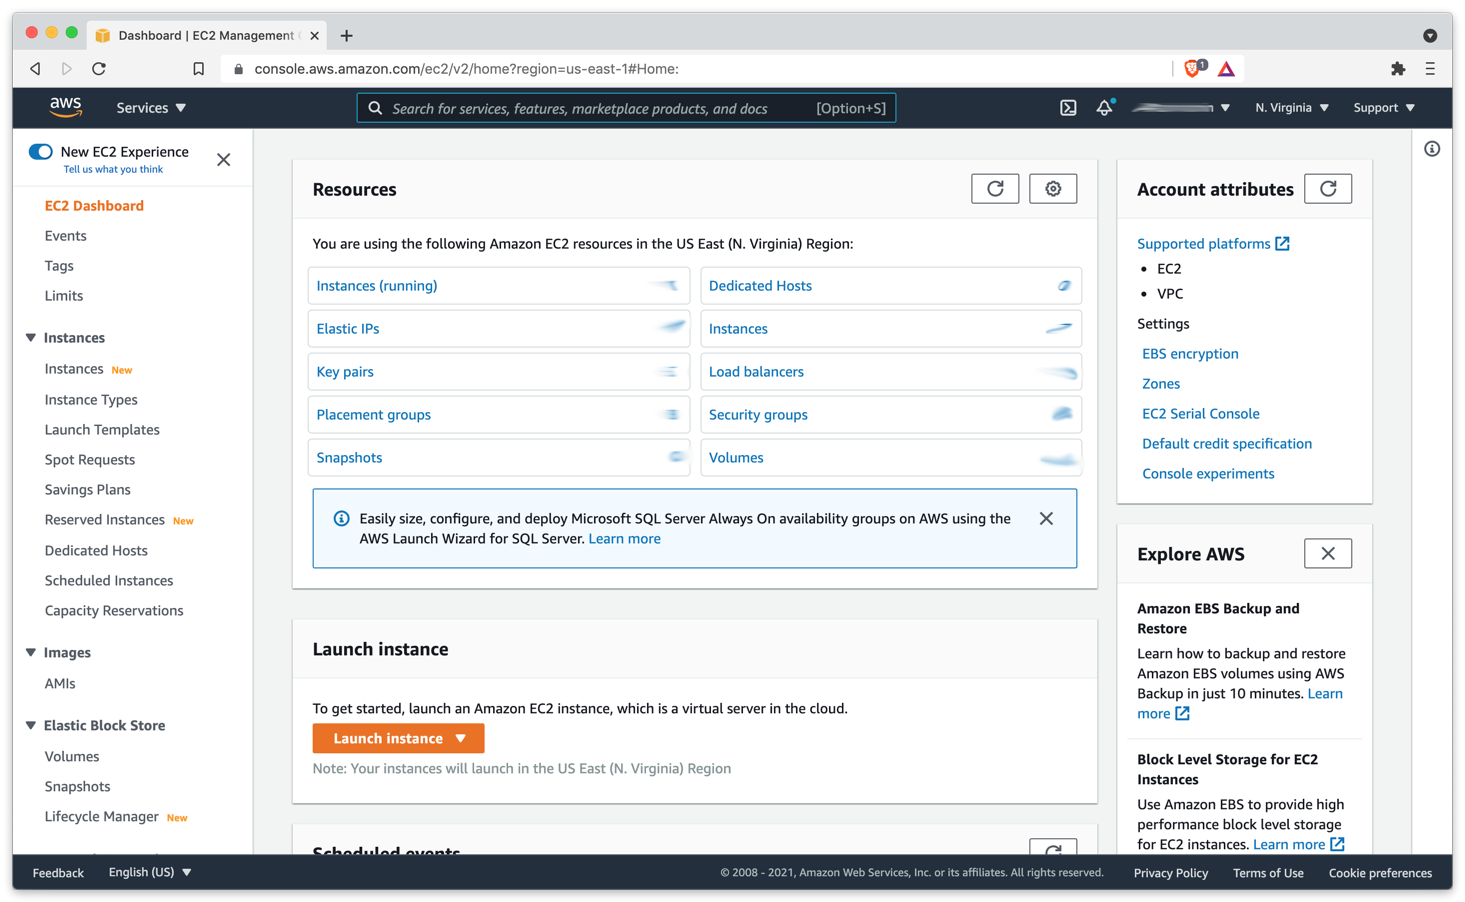
- AWS Console: Create an appropriate Windows virtual machine.
- Instance: After the instance is started, log into it using Connect to your Windows instance using RDP.
- Instance: Download Retrospect Virtual onto the instance and install the package.
- Instance: Run Retrospect Virtual and add your license key. You are now ready to use Retrospect. Please see Retrospect Documentation if you need further assistance.
Virtual Private Cloud (VPC)
AWS provides Virtual Private Clouds (VPC) for creating a virtual private network in their cloud. You can use this to connect multiple VM instances, and you can also use this service to extend your on-premise network with a site-to-site connection. Follow AWS’s What is AWS Site-to-Site VPN? .
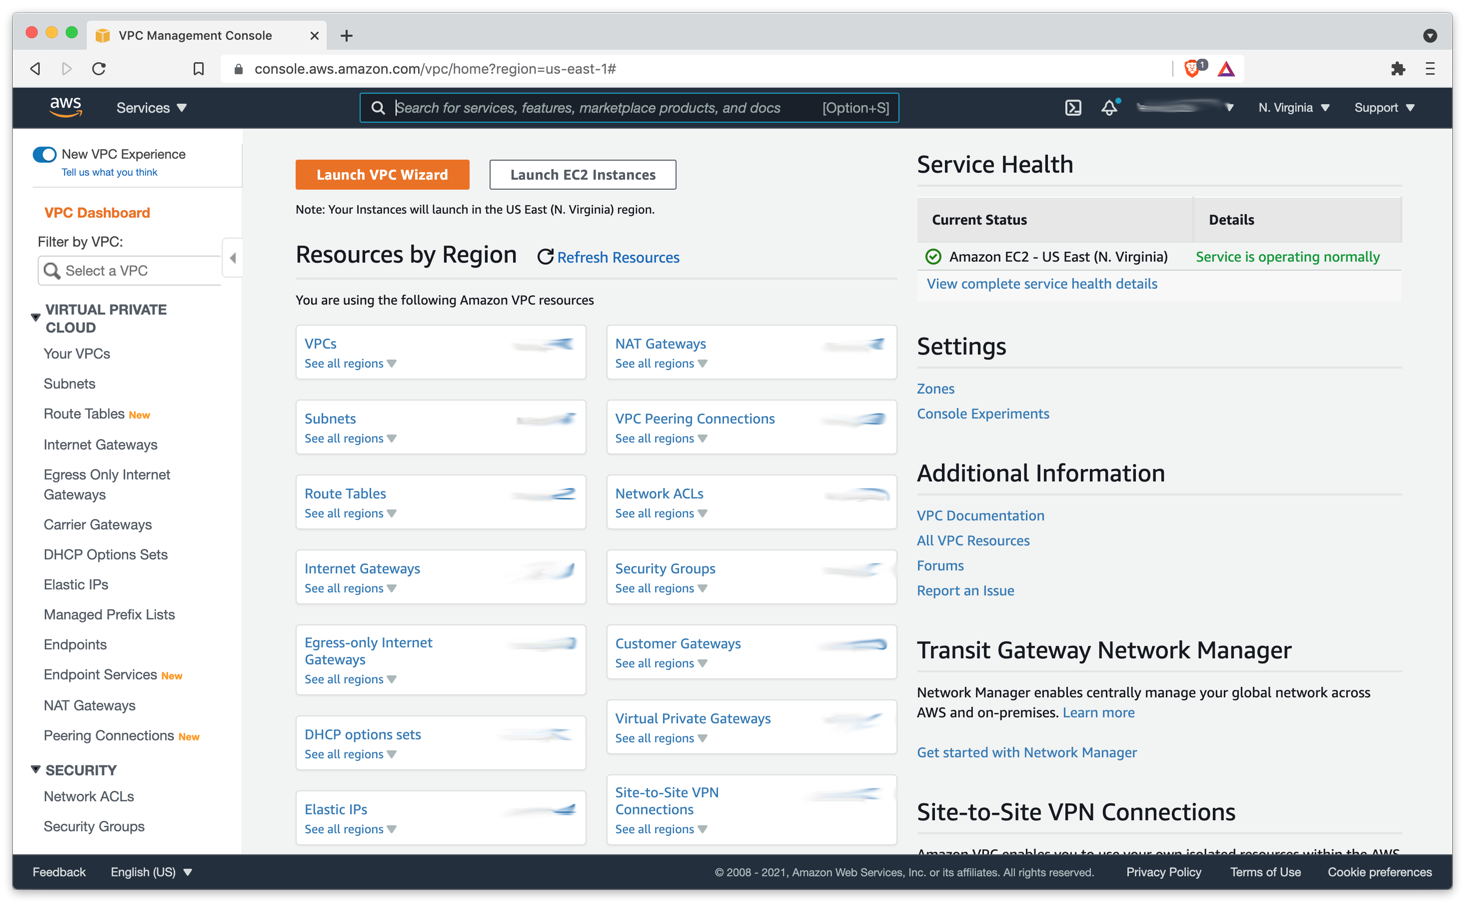
Use AWS VPC to set up the appropriate virtual network for your business, including a site-to-site connection if it’s needed.
Last Update: August 9, 2021
Was this article helpful?