Cloud Backup - How to Set Up Wasabi for Cloud Backup
- 18 Nov 2023
- 2 Minutes to read
- Print
- DarkLight
- PDF
Cloud Backup - How to Set Up Wasabi for Cloud Backup
- Updated on 18 Nov 2023
- 2 Minutes to read
- Print
- DarkLight
- PDF
Article Summary
Share feedback
Thanks for sharing your feedback!
Cloud Backup

Wasabi is a cloud storage provider focused on single-tier hot storage, very low costs at $0.0039/GB a month, and extremely fast speeds. Retrospect 12.5 and higher for Windows and Retrospect 14.5 and higher for Mac are certified for Wasabi. Follow these step-by-step instructions for setting up a Wasabi account and adding it to Retrospect.
Step-by-step Guide
Video Tutorial - Retrospect Backup for Windows
Video Tutorial - Retrospect Backup for Mac
Account Setup Guide
Setting up a Wasabi account is quick and easy.
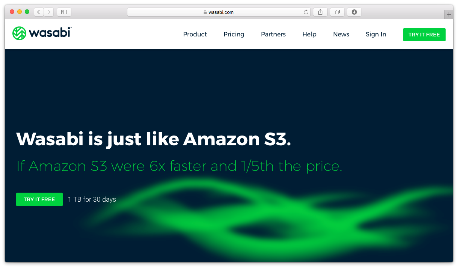
Visit Wasabi and click "Try it free".
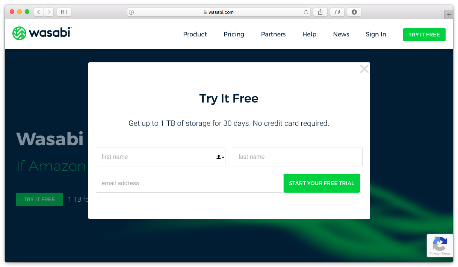
Type in your first name, last name, and email address and click "Start your free trial". Wasabi requires you to verify your email address, so check your email for the verification link. When you click on the verification link, type in a password and click "Sign up".
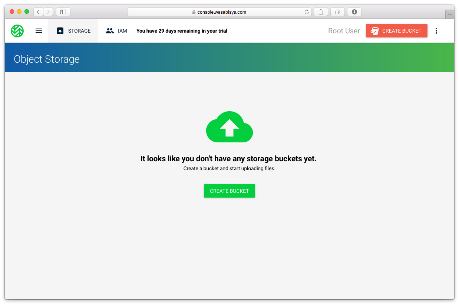
After you verify your email address and sign up with a password, you’ll be redirected to the Wasabi Dashboard. It gives you an overview of your account and lists your storage buckets. You do not need to create a storage bucket for Retrospect; it will create one for you.
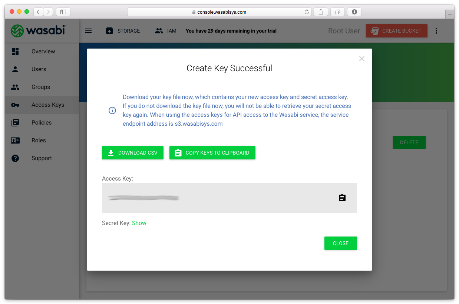
Next click on the three-line icon at the top left for the menu, click "Access Keys", and then click "Create New Access Key".
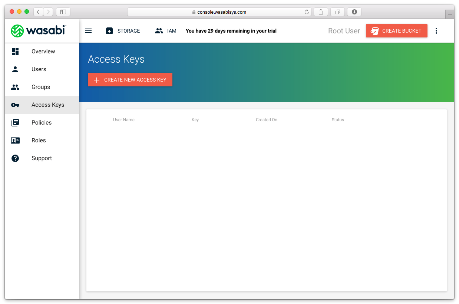
Save the access key and secret key. You’ll need them for Retrospect’s integration.
Information for Retrospect
Retrospect needs three pieces of information to access Wasabi:
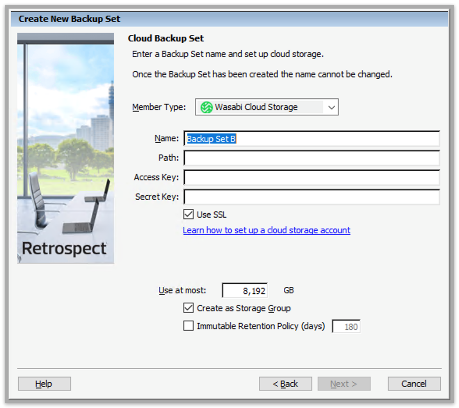
- Path – s3.us-west-1.wasabisys.com/your_bucket_name (or applicable region)
- Access Key – Use the Access Key from above.
- Secret Key – Use the Secret Key from above.
These are the current regional URLs:
- Wasabi US East 1 (N. Virginia): s3.wasabisys.com or s3.us-east-1.wasabisys.com
- Wasabi US East 2 (N. Virginia): s3.us-east-2.wasabisys.com
- Wasabi US Central 1 (Texas): s3.us-central-1.wasabisys.com
- Wasabi US West 1 (Oregon): s3.us-west-1.wasabisys.com
- Wasabi EU Central 1 (Amsterdam): s3.eu-central-1.wasabisys.com
If you receive the error "These credentials are not valid", your URL might not be correct. Please verify that it includes the region.
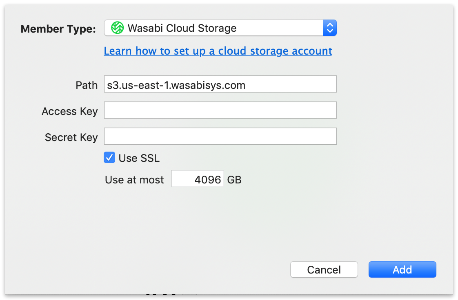
Adding Cloud Storage in Retrospect
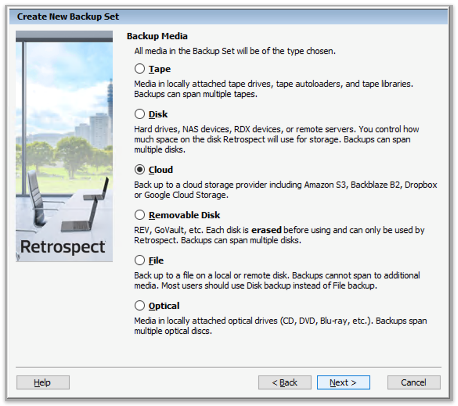
Adding cloud storage as a destination is simple. Retrospect has a new set type called "Cloud". Create a new backup set/media set and select "Cloud" as the type.
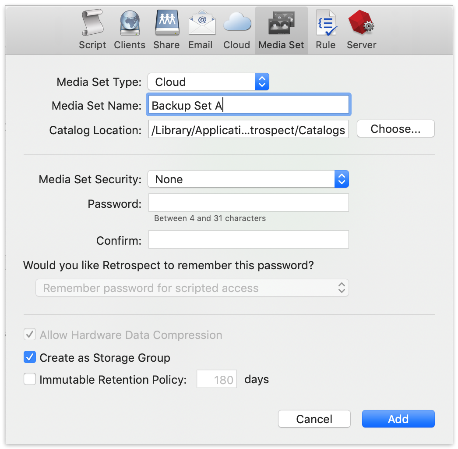
Next you’ll need to enter your cloud storage credentials. Retrospect allows customers to set the maximum storage usage, up to 100TB. If you have an existing bucket, type it into "Bucket". Otherwise, leave that field blank, and Retrospect will walk through creating a new one.
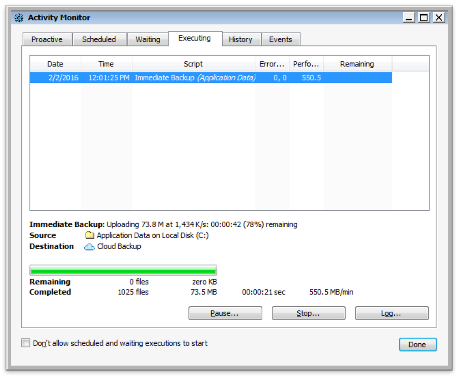
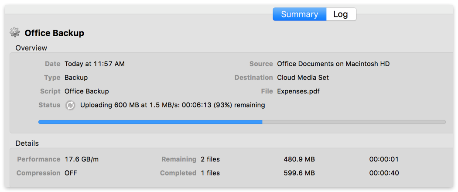
Using Cloud Storage in Retrospect
Using cloud storage is simple. After you have created a cloud set, create a new script or add it to an existing one, and click "Run". The backup will begin with the contents of the set being uploaded to your cloud storage location. You can track the progress in the execution/activity.
Known Issues with Wasabi
There is a known issue with Wasabi cloud storage integration. Retrospect does not support using non-ASCII characters in the backup set name at this time. Retrospect is able to back up and restore using them, but it cannot rebuild with them.
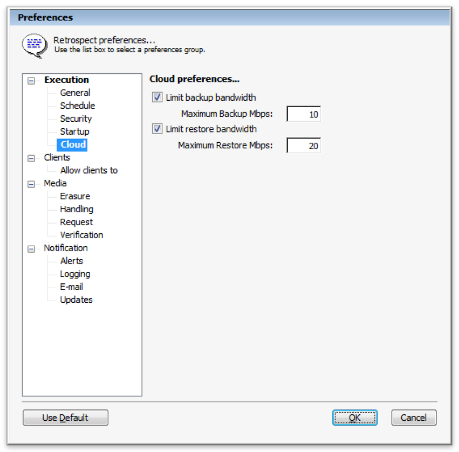
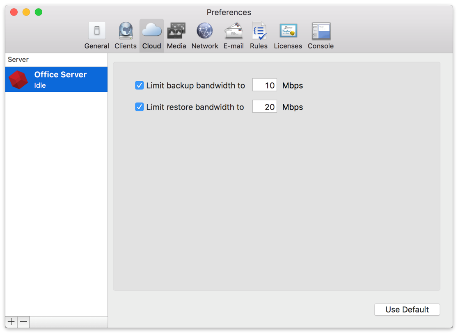
Throttling Cloud Backups in Retrospect
Throttling for cloud backup and cloud restore is available in Preferences.
General Tips
Below are a number of tips for using cloud storage in Retrospect:
- Bandwidth Measurement Tool – Measure your upload and download bandwidth with this free tool: Speedtest.net.
- Disable Backup Verification – Verification will download all of the data that you upload. See more details about why you should disable it for cloud backups in Cloud Backup - Best Practices for Data Protection with Cloud Storage.
- Wasabi Status: Please check https://status.wasabi.com if you are having connectivity issues.
Last Update: June 21, 2021
Was this article helpful?