Cloud Backup
title: kb.how_to_cloud_backup.title created_at: 2016.03.01 updated_at: 2016.03.01 category: Cloud Backup --- :toc: macro :toc-title:
Backing up to Cloud Storage with Retrospect is easy. Let's walk through it step by step.
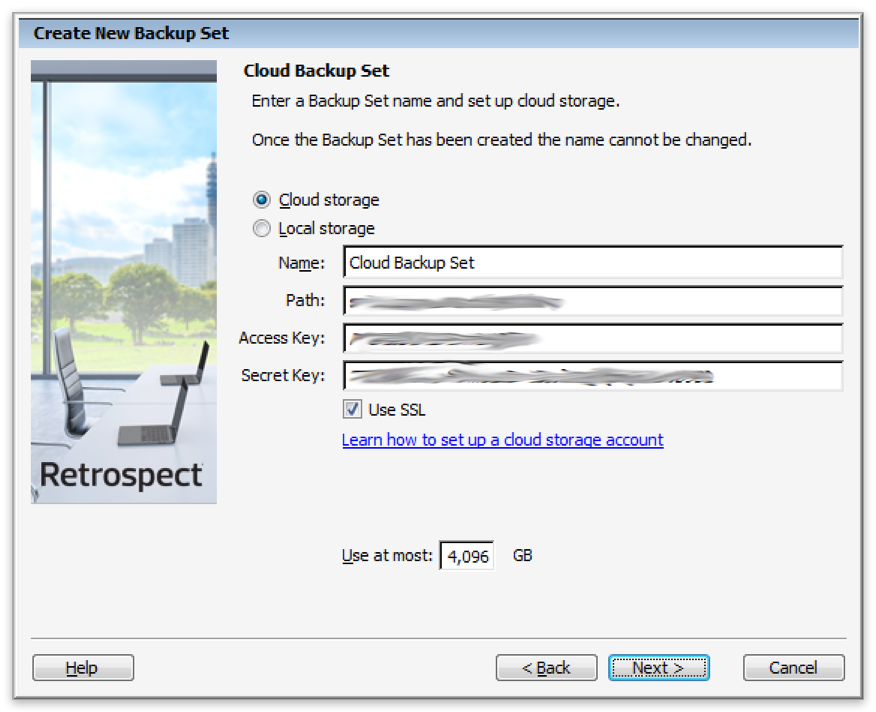
Adding cloud storage as a destination is simple. Retrospect has a new set type called "Cloud". Create a new backup set/media set and select "Cloud" as the type.
Windows Interface

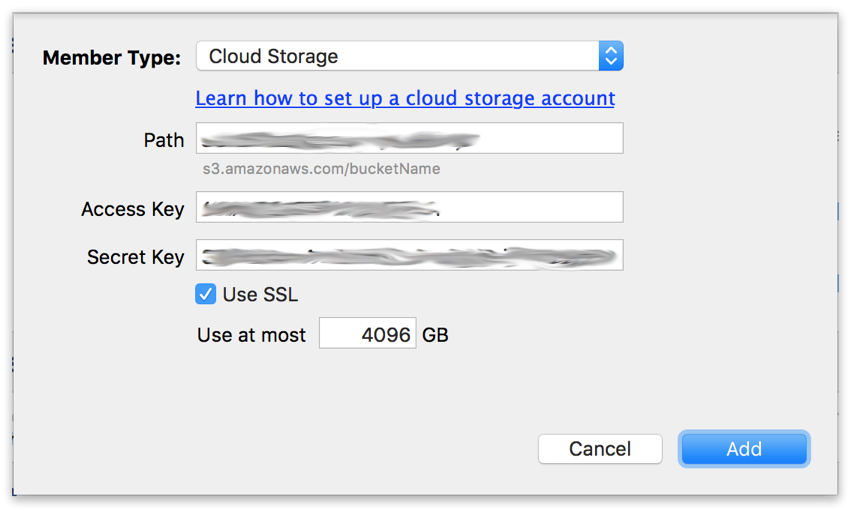
Mac Interface

Next you'll need to enter your cloud storage credentials. You'll need to set up a cloud storage account first. This account will give you a URL (i.e. "s3.amazonaws.com/your_bucket_name", "storage.googleapis.com/your_bucket_name") to your new storage location, an "Access Key" (similar to a user name), and a "Secret Key" (similar to a password).
Different cloud storage providers offer different options. Retrospect allows customers to enable or disable SSL encryption (HTTP or HTTPS) and to set the maximum storage usage, up to 8TB per cloud member. When this member is full, Retrospect will request permission to create a new 8TB member, up to 100TB per cloud backup set.
Windows Interface
Mac Interface
Using cloud storage is simple. After you have created a cloud set, create a new script or add it to an existing one, and click "Run". The backup will begin with the contents of the set being uploaded to your cloud storage location. You can track the progress in the execution/activity.
Windows Interface

Mac Interface

Throttling for cloud backup and cloud restore is available in Preferences.
Windows Interface

Mac Interface

Last Update: 01 March, 2016

