Cloud Backup
title: Cloud Backup - How to Set Up Backblaze B2 (Native API - Legacy) for Cloud Backup created_at: 2017.02.02 updated_at: 2023.01.09 category: Cloud Backup --- :toc: macro :toc-title:

Backblaze B2 is a business-class cloud storage provider with extremely low costs, at $0.005/GB a month or $5/TB a month. Retrospect 12 and higher for Windows and Retrospect 14 and higher for Mac are certified for Backblaze B2 (Native API - Legacy). Follow these step-by-step instructions for setting up a Backblaze B2 (Native API - Legacy) account and adding it to Retrospect.
NOTE: Please note that the Native API is the Legacy API for Backblaze and you should use the S3 API if possible. For the S3 API instructions, see How to Set Up Backblaze B2 (S3 API) for Cloud Backup. As an example, Retrospect’s fast cloud backup with multi-part upload is only supported with the S3 API.
Setting up a Backblaze B2 account is quick and easy.
Visit Backblaze B2. Type in your email address and password and click "Sign up for B2".
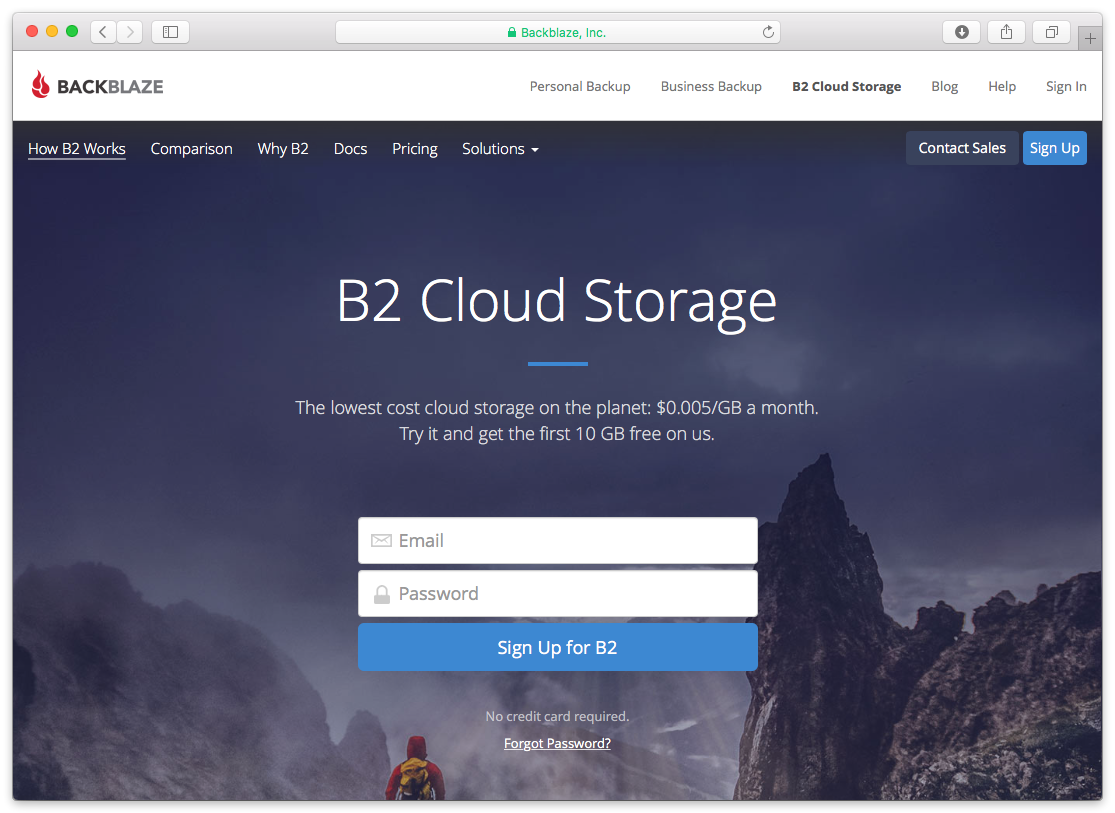
Backblaze B2 requires a valid phone number, so you’ll need to verify yours with a text message. This also allows you to set up two-factor authentication for added security.
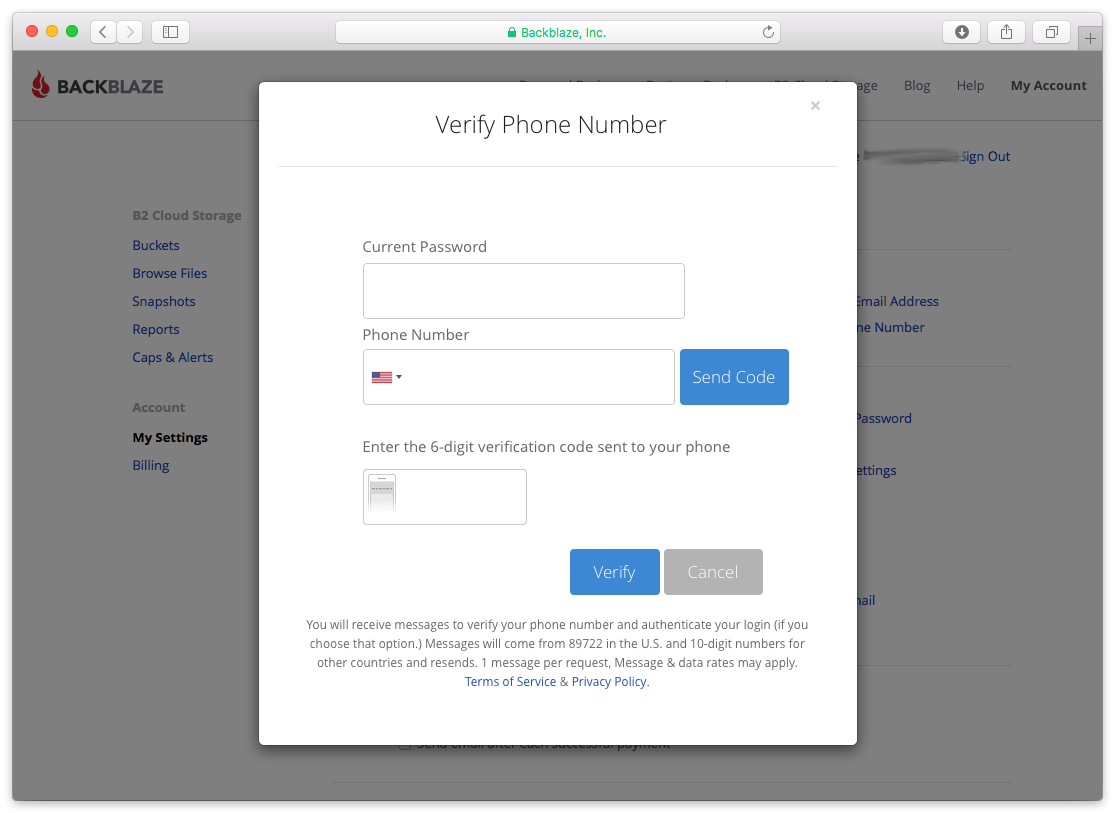
After verifying your phone number, you’ll see your new Backblaze B2 account page.

Retrospect needs these pieces of information to access Backblaze B2.
Name/Bucket – Use the bucket name.
Account ID – Use the Application Key ID (keyID).
Master Application Key – Use the Application Key (applicationKey).
Note that Retrospect’s B2 API requires the master key and does not support application-specific keys. Click "Create New Master Application Key" to create the key if you don’t already have one.


Añadir el almacenamiento en la nube como destino es simple. Retrospect tiene un nuevo tipo de conjunto llamado "nube". Cree un nuevo conjunto de copia de seguridad/conjunto de medios y seleccione "nube" como tipo.
Interfaz de Windows

Interfaz de Mac

Next you’ll need to enter your cloud storage credentials. Retrospect allows customers to set the maximum storage usage, up to 100TB. If you have an existing bucket, type it into "Bucket". Otherwise, leave that field blank, and Retrospect will walk through creating a new one.
Interfaz de Windows

Interfaz de Mac

Usar el almacenamiento en la nube es simple. Después de haber creado un conjunto en la nube, cree una nueva secuencia de comandos o añádala a una ya existente y haga clic en "Ejecutar". La copia de seguridad se iniciará, siendo subido el contenido del conjunto a su lugar de almacenamiento en la nube. Puede hacer un seguimiento del progreso en la ejecución/actividad.
Interfaz de Windows

Interfaz de Mac

La limitación para la copia de seguridad en la nube y la restauración de la nube está disponible en Preferencias.
Interfaz de Windows

Interfaz de Mac

Retrospect Backup supports integration with B2 Fireball. However, when doing this backup, it will be important that you create a Cloud Backup Set and not a Disk Backup set for the Fireball device.
Below are a number of tips for using cloud storage in Retrospect:
Herramienta de medición de ancho de banda – Mida su ancho de banda de subida y bajada con esta herramienta gratuita: <a target="_blank" href="http://speedtest.net">Speedtest.net</a>.
Desactivar la verificación de copia de seguridad – La verificación descargará todos los datos que suba. Vea más detalles acerca de por qué debe desactivarla para las copias de seguridad en la nube en <a href="/es/support/kb/best_practices_for_cloud_storage#notes">Copia de seguridad en la nube: las mejores prácticas para la protección de datos con almacenamiento en la nube</a>.
Disabling Multiple Versions in Lifecycle
In some cases, Retrospect Backup will receive an error during upload and need to retry. You need to set your bucket’s lifecycle to "Keep only the last version". Otherwise, B2 might store retain the prior incomplete copies of your RDB file, and B2 will charge you for this space.
See this example of B2 storing multiple verisons:

You can find a bucket’s lifecycle settings here:

Last Update: 09 de enero de 2023

