

[CloudRegion]
swift.fr1.sto.aquaray.com=fr1
Cloud Backup
title: Cloud Backup - How to Set Up Aqua Ray for Cloud Backup created_at: 2018.05.17 updated_at: 2018.05.17 category: Cloud Backup --- :toc: macro :toc-title:

Aqua Ray Cloud Storage provides a low-cost, scalable cloud storage location for secure off-site data protection. Retrospect 15.1 for Windows and Mac are certified for Aqua Ray. Follow these step-by-step instructions for configuring Retrospect to integrate with Aqua Ray.

Contact Aqua Ray for product information and setup instructions. You will receive an access key and a secret key as part of the account setup.
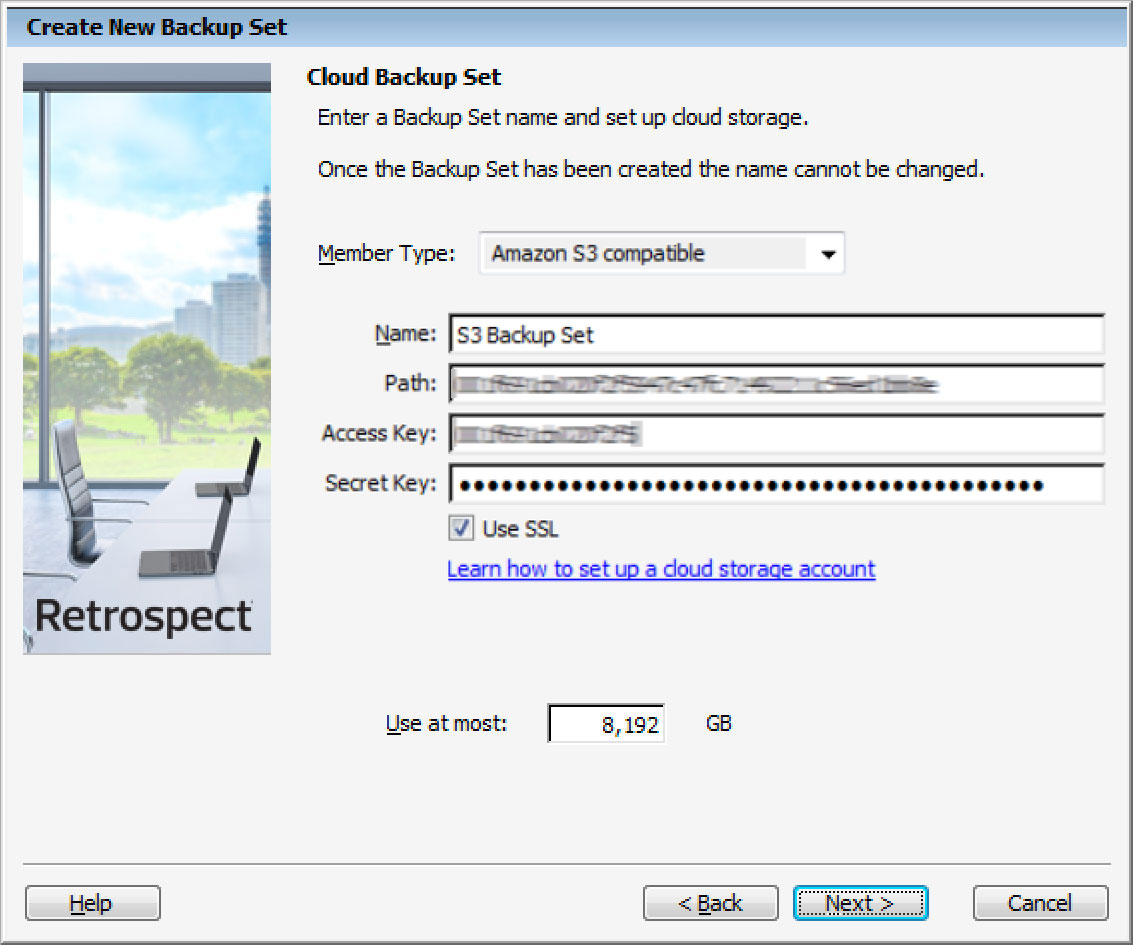
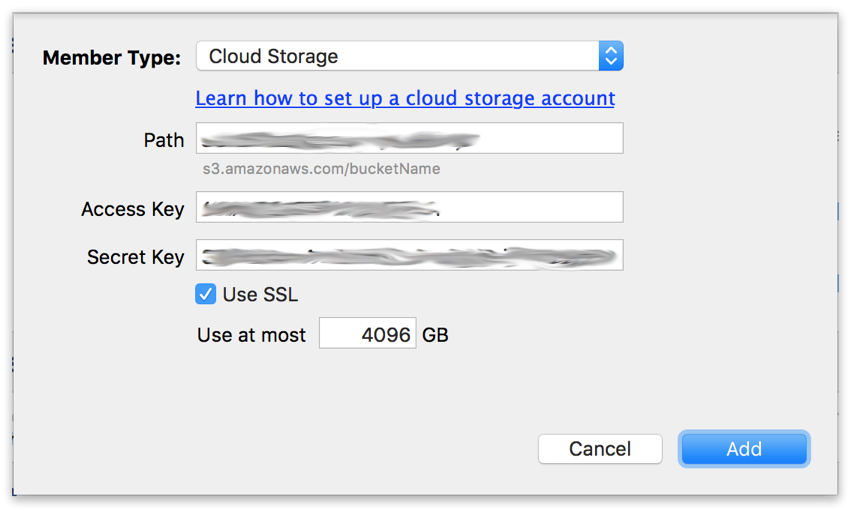
Retrospect needs four pieces of information to access Aqua Ray:
Path – swift.fr1.sto.aquaray.com:443/your_bucket_name
Access Key – Use the Access Key provided by your Aqua Ray instance.
Secret Key – Use the Secret Key provided by your Aqua Ray instance.
Region – Use the Region provided by your Aqua Ray instance.
The "Region" option must be added to the Retrospect INI file in the following format. Note that you should not include a port.
[CloudRegion] swift.fr1.sto.aquaray.com=fr1
Please note that Retrospect has the following known issues with Aqua Ray:
Unicode Backup Set Names: Retrospect does not work with Aqua Ray if you use a Unicode character in the backup set name.
Backup Set Name Length: Retrospect does not work with Aqua Ray if you use a backup set name that is more than 38 characters.
Adicionar armazenamento em nuvem como um destino é simples. O Retrospect tem um novo tipo de conjunto chamado "Cloud". Crie um novo conjunto de backup / conjunto de mídias e selecione "Cloud" como o tipo.
Interface do Windows

Interface Mac

Next you’ll need to enter your cloud storage credentials.
Interface do Windows
Interface Mac
Usar o armazenamento em nuvem é simples. Depois de criar um conjunto de nuvens, crie um novo script ou adicione-o a um existente e clique em "Executar". O backup começará com o conteúdo do conjunto sendo carregado para o local de armazenamento na nuvem. Você pode acompanhar o progresso na execução / atividade.
Interface do Windows

Interface Mac

A otimização para backup na nuvem e restauração na nuvem está disponível em Preferências.
Interface do Windows

Interface Mac

Below are a number of tips for using cloud storage in Retrospect:
Ferramenta de Medição de Largura de Banda – Meça o seu upload e download de banda com esta ferramenta gratuita: <a target="_blank" href="http://speedtest.net">Speedtest.net</a>.
Desativar a verificação de backup – A verificação fará o download de todos os dados que você enviar. Veja mais detalhes sobre por que você deve desativá-lo para backups na nuvem em <a href="/br/support/kb/best_practices_for_cloud_storage#notes">Backup na nuvem - Práticas recomendadas para proteção de dados com armazenamento em nuvem</a>.
Última atualização: 17 de maio de 2018