Cloud Backup
title: Cloud Backup - How to Set Up Microsoft Azure Blob Storage for Cloud Backup created_at: 2021.06.17 updated_at: 2021.06.21 category: Cloud Backup --- :toc: macro :toc-title:

Microsoft Azure Blob Storage provides a low-cost, scalable cloud storage location for secure off-site data protection.
Follow these steps to quickly create a Microsoft Azure Blob Storage Account. It requires an existing Microsoft Azure Account. If you do not already have one, create one for free at Microsoft Azure.
Visit Microsoft Azure Blob Storage and click "Start free" then click "Start free" for the free Azure account. You’ll be able to connect Azure Blob Storage to your existing Azure subscription.

Visit Microsoft Azure to see your new account.

Create a storage account.

Configure your storage account and click "Create".

Click "Go to resource" to vist your new storage account.

Now we will create a container that Retrospect can use to store backups.
In your storage account, click on "Containers".

Click "+ Container".

Fill in your container name and click "Create".

Click on "Access keys" and click "Show keys" to get your secret key from under key1 > Key.

Retrospect needs three pieces of information to access Microsoft Azure Blog Storage:
Account – Use the account name from above.
Container Path – container_name/path
Access Key – Use the access key from Storage Account > Access Keys > Secret.
Note that on Mac, "Account" and "Container Path" are combined into "Path", separated with a forward slash.
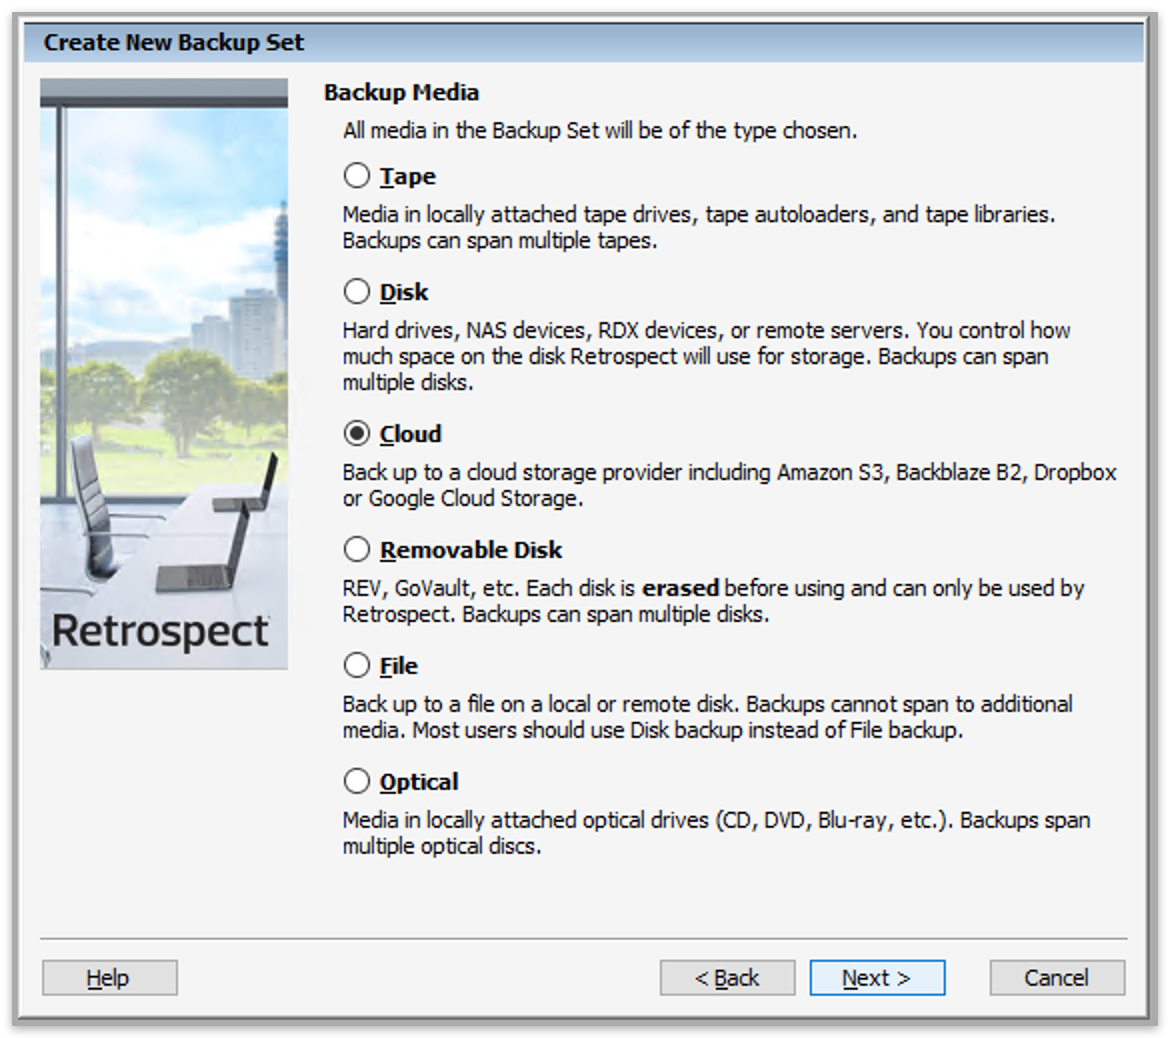
Adicionar armazenamento em nuvem como um destino é simples. O Retrospect tem um novo tipo de conjunto chamado "Cloud". Crie um novo conjunto de backup / conjunto de mídias e selecione "Cloud" como o tipo.
Interface do Windows
Interface Mac

Next you’ll need to enter your cloud storage credentials. Retrospect allows customers to enable or disable SSL encryption (HTTP or HTTPS) and to set the maximum storage usage, up to 8TB per cloud member.
Interface do Windows

Interface Mac

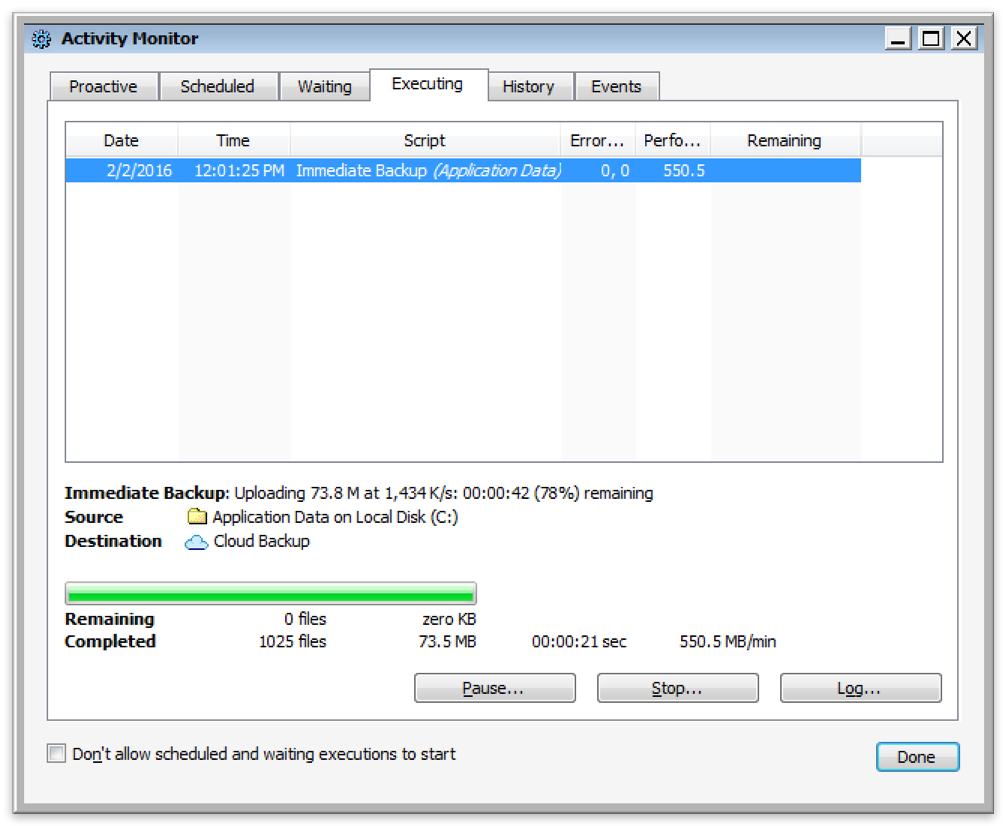
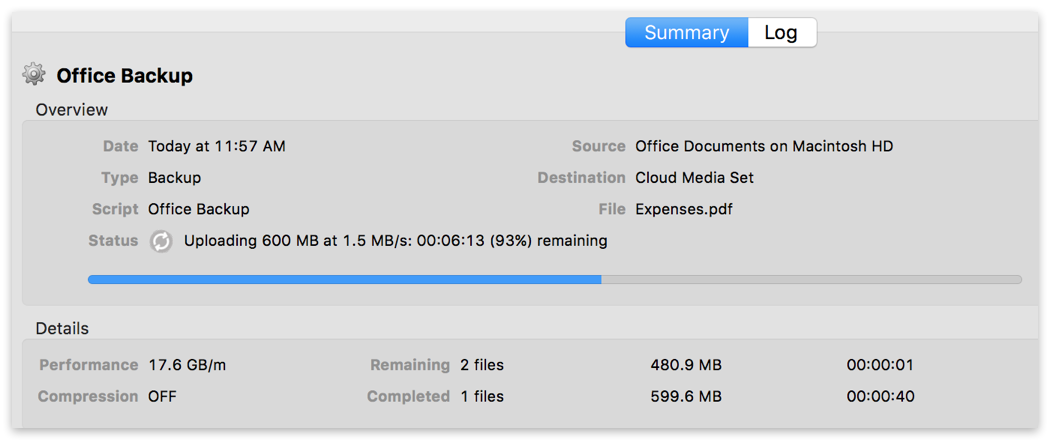
Usar o armazenamento em nuvem é simples. Depois de criar um conjunto de nuvens, crie um novo script ou adicione-o a um existente e clique em "Executar". O backup começará com o conteúdo do conjunto sendo carregado para o local de armazenamento na nuvem. Você pode acompanhar o progresso na execução / atividade.
Interface do Windows
Interface Mac
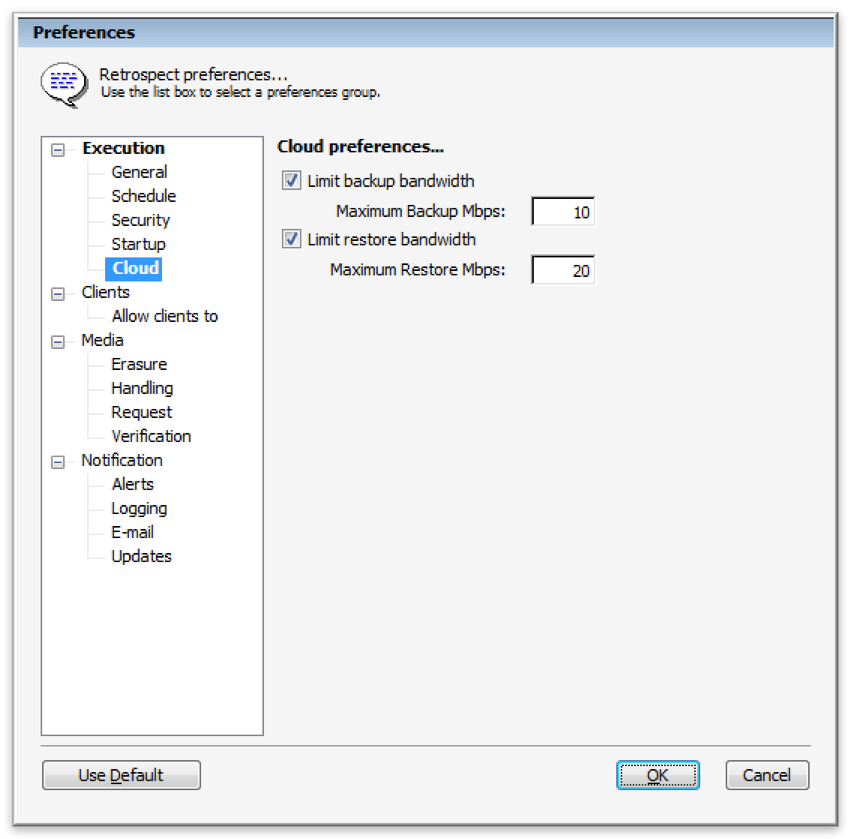
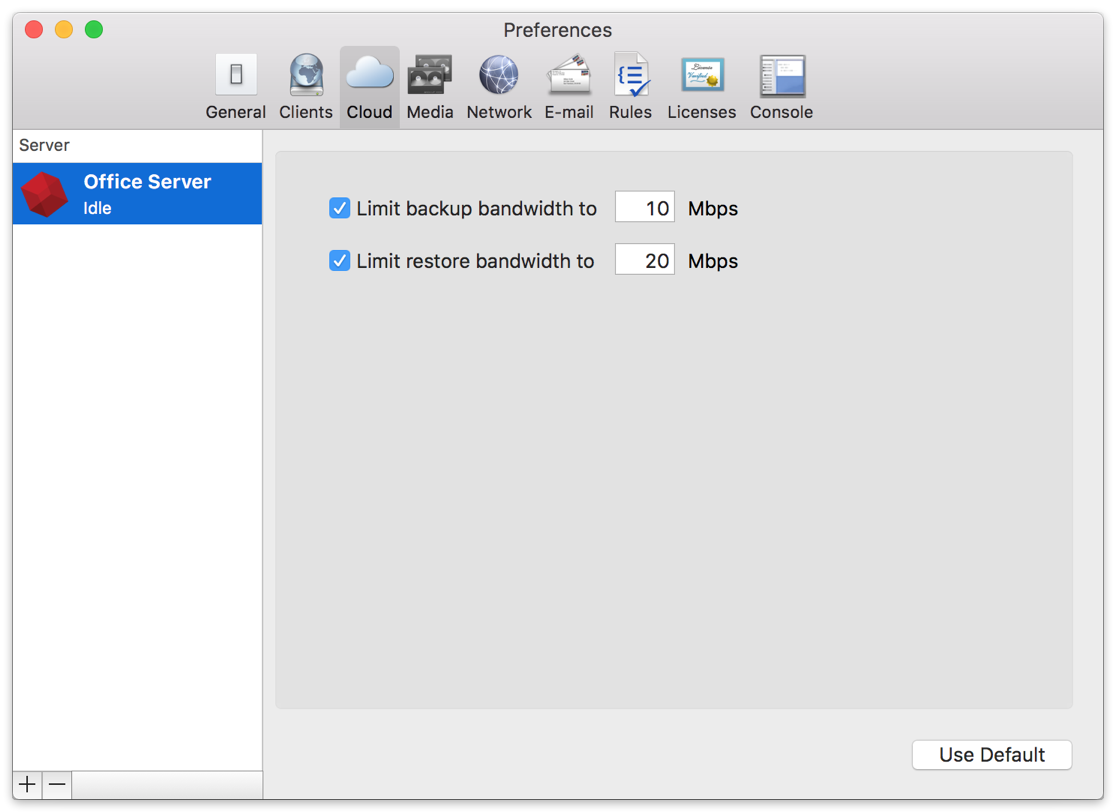
A otimização para backup na nuvem e restauração na nuvem está disponível em Preferências.
Interface do Windows
Interface Mac
Below are a number of tips for using cloud storage in Retrospect:
Ferramenta de Medição de Largura de Banda – Meça o seu upload e download de banda com esta ferramenta gratuita: <a target="_blank" href="http://speedtest.net">Speedtest.net</a>.
Desativar a verificação de backup – A verificação fará o download de todos os dados que você enviar. Veja mais detalhes sobre por que você deve desativá-lo para backups na nuvem em <a href="/br/support/kb/best_practices_for_cloud_storage#notes">Backup na nuvem - Práticas recomendadas para proteção de dados com armazenamento em nuvem</a>.
Última atualização: 21 de junho de 2021