

[CloudRegion]
swift.fr1.sto.aquaray.com=fr1
Cloud Backup
title: Cloud Backup - How to Set Up Aqua Ray for Cloud Backup created_at: 2018.05.17 updated_at: 2018.05.17 category: Cloud Backup --- :toc: macro :toc-title:

Aqua Ray Cloud Storage provides a low-cost, scalable cloud storage location for secure off-site data protection. Retrospect 15.1 for Windows and Mac are certified for Aqua Ray. Follow these step-by-step instructions for configuring Retrospect to integrate with Aqua Ray.

Contact Aqua Ray for product information and setup instructions. You will receive an access key and a secret key as part of the account setup.
Retrospect needs four pieces of information to access Aqua Ray:
Path – swift.fr1.sto.aquaray.com:443/your_bucket_name
Access Key – Use the Access Key provided by your Aqua Ray instance.
Secret Key – Use the Secret Key provided by your Aqua Ray instance.
Region – Use the Region provided by your Aqua Ray instance.
The "Region" option must be added to the Retrospect INI file in the following format. Note that you should not include a port.
[CloudRegion] swift.fr1.sto.aquaray.com=fr1
Please note that Retrospect has the following known issues with Aqua Ray:
Unicode Backup Set Names: Retrospect does not work with Aqua Ray if you use a Unicode character in the backup set name.
Backup Set Name Length: Retrospect does not work with Aqua Ray if you use a backup set name that is more than 38 characters.
Ajouter le stockage cloud comme destination est simple. Retrospect a un nouveau type de jeu appelé « Nuage/Cloud ». Créez un nouveau jeu de sauvegarde/jeu de media et sélectionnez « Nuage/Cloud » comme type.
Interface Windows

Interface Mac

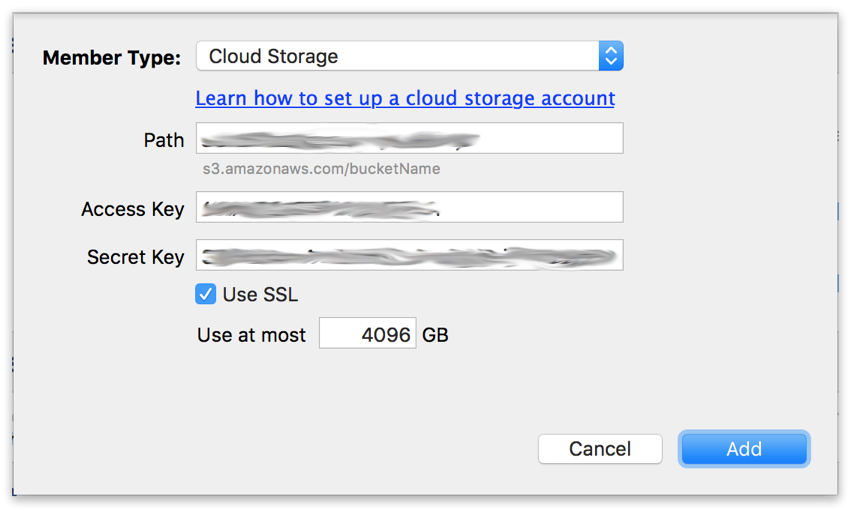
Next you’ll need to enter your cloud storage credentials.
Interface Windows
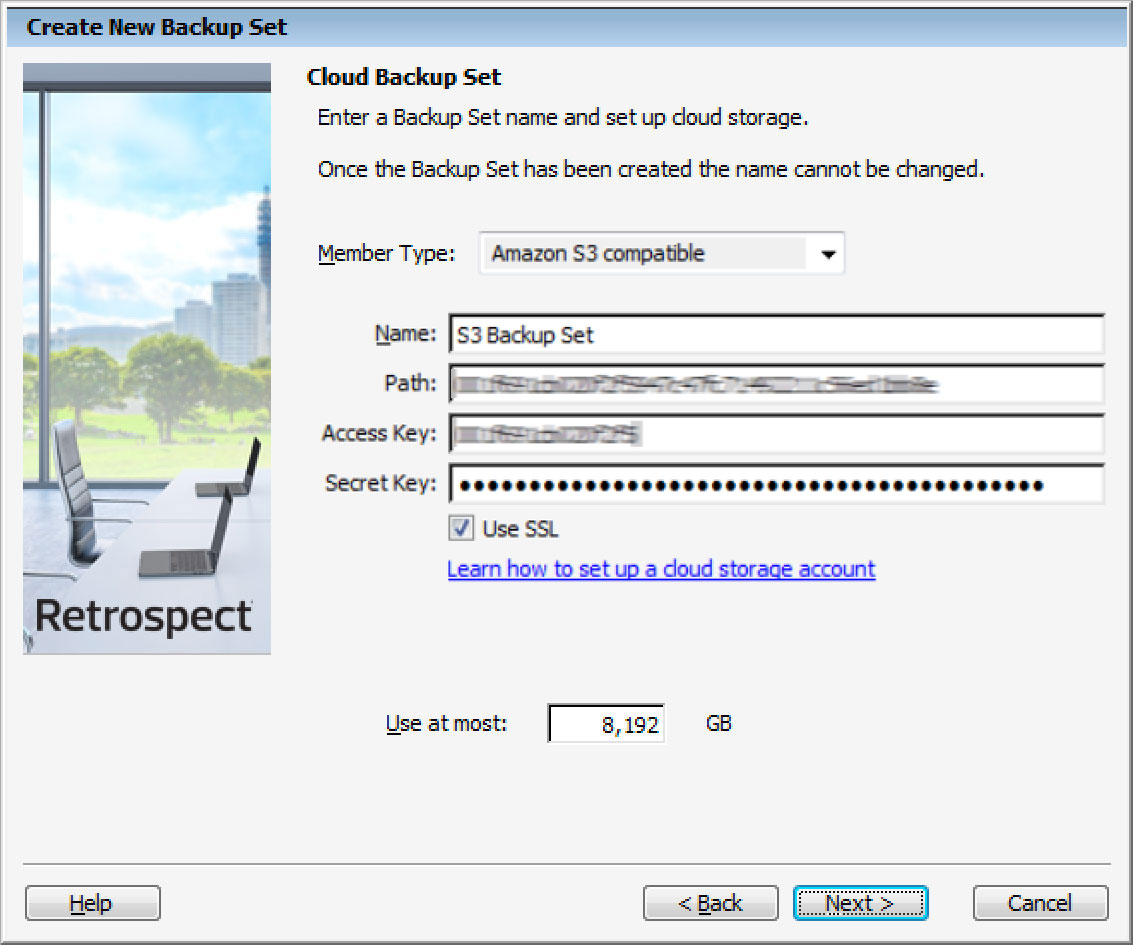
Interface Mac
Utiliser le stockage cloud est simple. Après avoir créé un jeu sur le cloud, créez un nouveau script ou ajoutez-le à un script déjà existant, puis cliquez sur « Exécuter ». La sauvegarde commencera avec le téléchargement du contenu du jeu sur l'emplacement de votre stockage sur le cloud. Vous pourrez suivre l’avancée de cette tâche dans l’onglet Exécution (version Windows) ou sous « Activités » (version Mac).
Interface Windows

Interface Mac

La limitation de bande passante pour la sauvegarde sur le cloud et la restauration sur le cloud est disponible dans Préférences.
Interface Windows

Interface Mac

Below are a number of tips for using cloud storage in Retrospect:
Outil de mesure de la bande passante – Mesurez votre bande passante de téléversement et de téléchargement avec cet outil gratuit : <a target="_blank" href="http://speedtest.net">Speedtest.net</a>.
Désactiver la vérification de la sauvegarde – La vérification reviendrait à télécharger en local toutes les données sauvegardées sur le cloud. Retrouvez plus d'information sur l'importance de la désactivation de la vérification pour les sauvegardes dans le cloud sur <a href="/fr/support/kb/best_practices_for_cloud_storage#notes">Sauvegarde sur le cloud - meilleures pratiques pour la protection des données avec le stockage sur le cloud</a>.
Last Update: 17 mai 2018