Cloud Backup
title: Cloud Backup - How to Set Up Dropbox for Cloud Backup created_at: 2016.09.14 updated_at: 2021.06.21 category: Cloud Backup --- :toc: macro :toc-title:

Dropbox is a free cloud service for synchronizing files across multiple devices. It offers 2GB of storage for free and 1TB of storage with Dropbox Pro as well as Dropbox Business. Retrospect 11.5 for Windows and Retrospect 13.5 for Mac are certified for Dropbox. Follow these step-by-step instructions for setting up a Dropbox account, adding it to Retrospect, and excluding the backup data from your synchronized files.
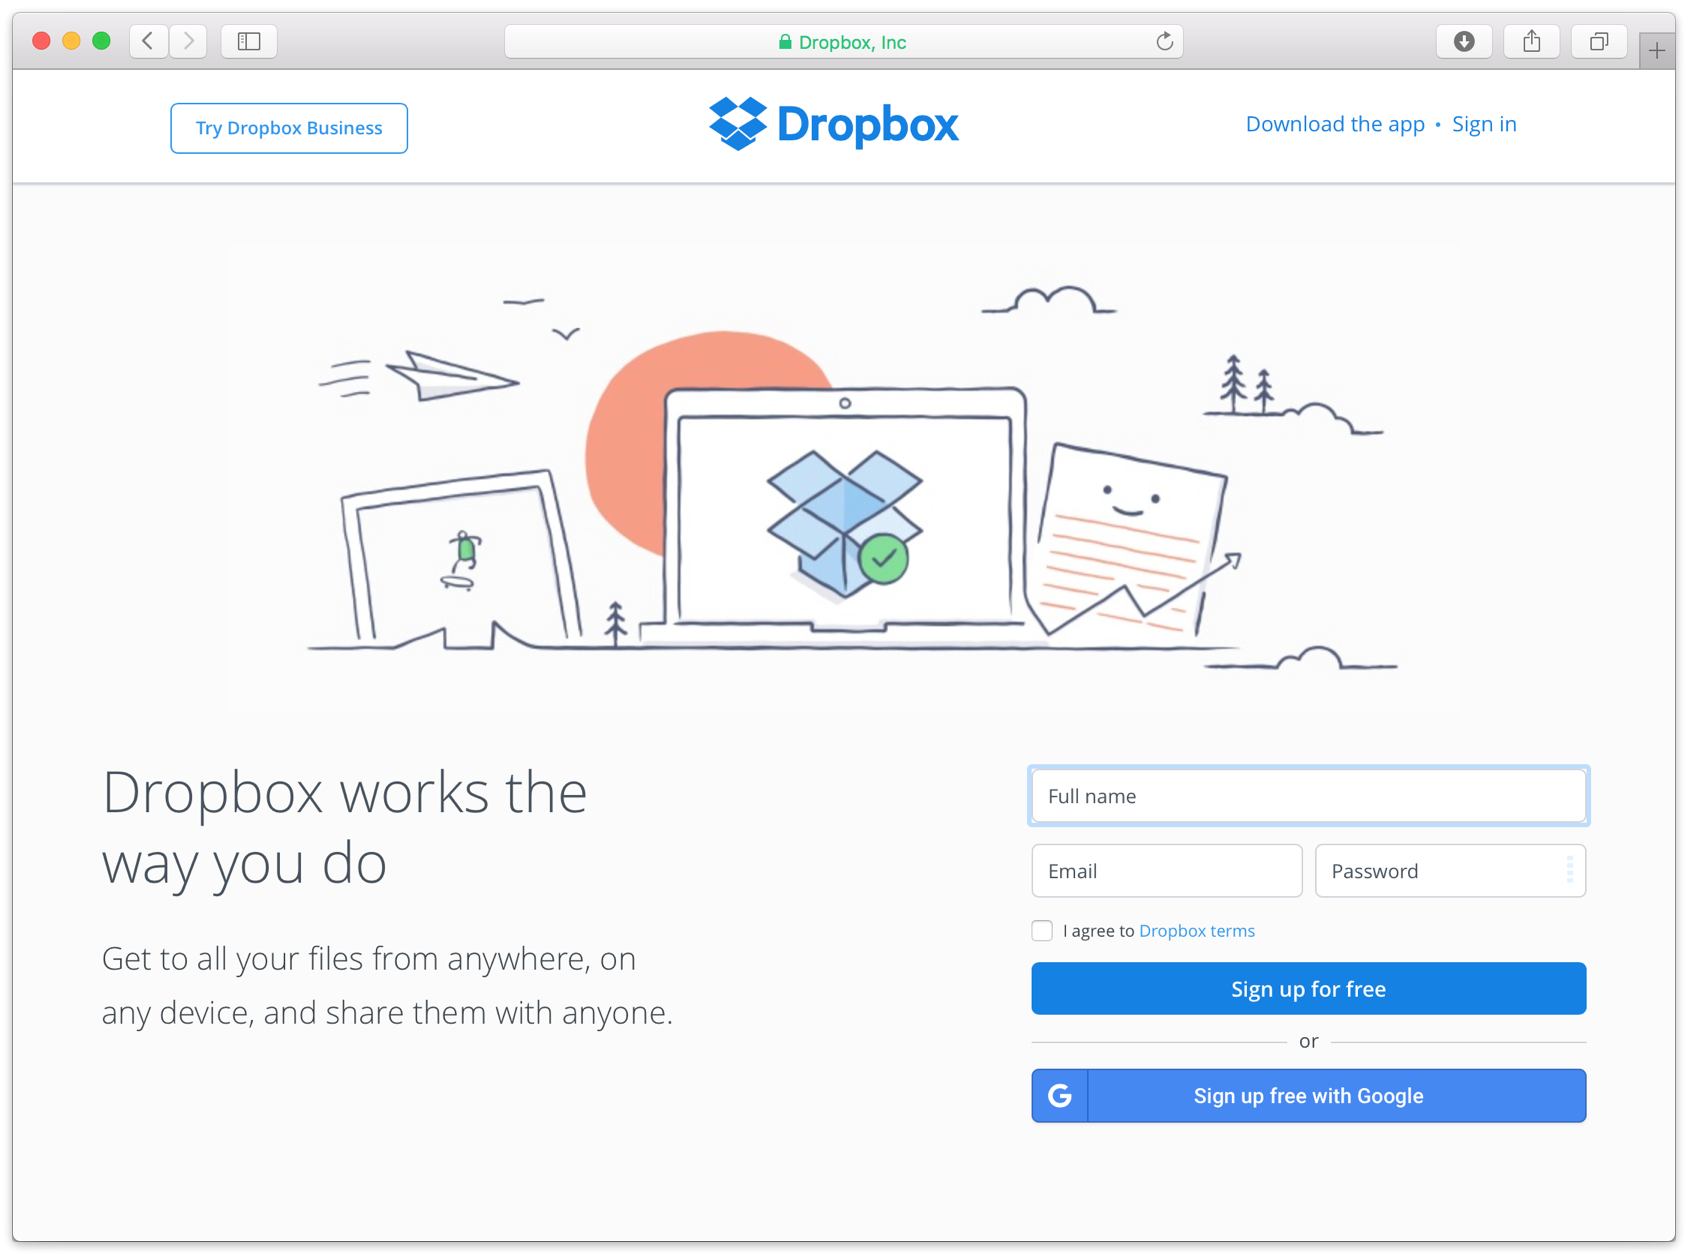
Setting up a free Dropbox account is quick and easy. Simply visit Dropbox. Type in your name, email address, and password and click "Sign up for free".
L'aggiunta del cloud storage come destinazione è semplice. Retrospect ha un nuovo tipo di set chiamato "Cloud". Crea un nuovo set di backup/supporti e seleziona "Cloud" come tipo.
The steps are different depending on your platform, so step through either the Windows steps or the Mac steps.
Interfaccia Windows

Select "Dropbox" from the dropdown menu and click "Log In…". Do not fill in the text field. This is for the one-time authorization code issued by Dropbox after you log in.

Sign in to Dropbox with your Dropbox email address and password. Because we use the OAuth secure protocol, only Dropbox sees these. Retrospect never sees them.

Dropbox will display the following message: "Retrospect Backup would like access to its own Folder, Apps > Retrospect Backup, inside your Dropbox." Click "Allow". Note that Retrospect is never able to view files outside of that folder, so it’ll never have access to any other files on your Dropbox account.

After successfully signing in and allowing Retrospect access to your Dropbox account, Dropbox will issue a temporary authorization code. This is a temporary code to enter into Retrospect, and it will expire shortly after Dropbox issues it for security.

In Retrospect, enter the authorization code into Retrospect, click Next, and finish configuring your backup set. We encourage you to use AES-256 encryption for security.
Interfaccia Mac

Select "Dropbox" from the dropdown menu and click "Log into Dropbox".

A window will come down and display a Dropbox webpage, where you can enter in your Dropbox email address and password. Fill those out and click "Sign in".

Dropbox will display the following message: "Retrospect Backup would like access to its own Folder, Apps > Retrospect Backup, inside your Dropbox." Click "Allow". Note that Retrospect is never able to view files outside of that folder, so it’ll never have access to any other files on your Dropbox account.
The window will disappear if the authorization was successful. You can now finish configuring your media set.
By default, Dropbox will synchronize every file in your Dropbox account. Retrospect uses Dropbox as cloud storage, so it is necessary to exclude Retrospect’s backup files from the synchronization process by using Dropbox’s "Selective Sync" feature. You will need to do this on each computer your Dropbox account is synced with.
Click on the Dropbox menu item then the settings icon and select "Preferences…".

Click on "Account" and then "Selective Sync".

Uncheck "Retrospect Backup" under "Apps". This folder will appear as soon as you link Retrospect to your Dropbox account.

Retrospect backup files will no longer be synchronized onto this device.
L'utilizzo del cloud storage è semplice. Dopo aver creato un set di cloud, crea un nuovo script o aggiungilo a uno già esistente e fai clic su "Esegui". Il backup inizierà con i contenuti del set che devono essere caricati nella posizione di archiviazione su cloud. Puoi seguire lo stato di avanzamento dell'esecuzione/attività.
Interfaccia Windows

Interfaccia Mac

La limitazione per il backup e il ripristino su cloud è disponibile nelle Preferenze.
Interfaccia Windows

Interfaccia Mac

Below are a number of tips for using cloud storage in Retrospect:
Strumento di misurazione della larghezza di banda – Misura la larghezza di banda in upload e download con questo strumento gratuito: <a target="_blank" href="http://speedtest.net">Speedtest.net</a>.
Disattivare la verifica di backup – La verifica scaricherà tutti i dati che carichi. Ulteriori informazioni sul perché è consigliabile disattivarla per i backup cloud sono consultabili su <a href="/it/support/kb/best_practices_for_cloud_storage#notes">Backup su Cloud - Best practice per la protezione dei dati con il Cloud Storage</a>.
Last Update: 21 Giu 2021

