Cloud Backup
title: Cloud Backup - How to Set Up QNAP for Cloud Backup created_at: 2018.05.17 updated_at: 2018.05.17 category: Cloud Backup --- :toc: macro :toc-title:

QNAP provides affordable, scalable network attached storage (NAS) devices for consumers, small businesses, and enterprises. Using open source software like Minio or Zenko, you can leverage your own NAS for cloud storage. Retrospect 15.1 for Windows and Mac are certified for QNAP. Follow these step-by-step instructions for configuring Retrospect to integrate with QNAP.

Visit QNAP’s website to choose the right NAS for your business needs. Ensure that it supports hosting Docker instances. Retrospect is currently certified to integrate with Minio and Zenko Cloud Server Docker instances. See below for setup instructions.
Minio is a high performance distributed object storage server, designed for large-scale private cloud infrastructure. Minio is widely deployed across the world with over 79.7M+ docker pulls. You can deploy it on any hardware you prefer. At the end of the setup, you will receive a path, an access key, and a secret key.
Install Docker.
Download minio/minio.
Connect via SSH.
Run: sudo docker run -p 9000:9000 --name minio -d minio/minio server /export
Run: sudo docker logs minio
Launch a web browser and visit the instance to create a bucket.

Zenko provides a single unifying interface using the Amazon S3 API, supporting multi-cloud backend data storage both on-premises and in the Amazon S3 public cloud as well as other services, including: Available now for Amazon S3, Scality RING and Docker. You can deploy it on any hardware you prefer. At the end of the setup, you will receive a path, an access key, and a secret key.
Install Docker.
Download scality/s3server.
Launch scality/s3server via Image in Docker.
In Docker > Container, highlight scality/s3server1 click on "Details". Local port is what is needed to connect.
Create a bucket (folder) using Cyberduck instructions.
Copy down the default access key and secret key.
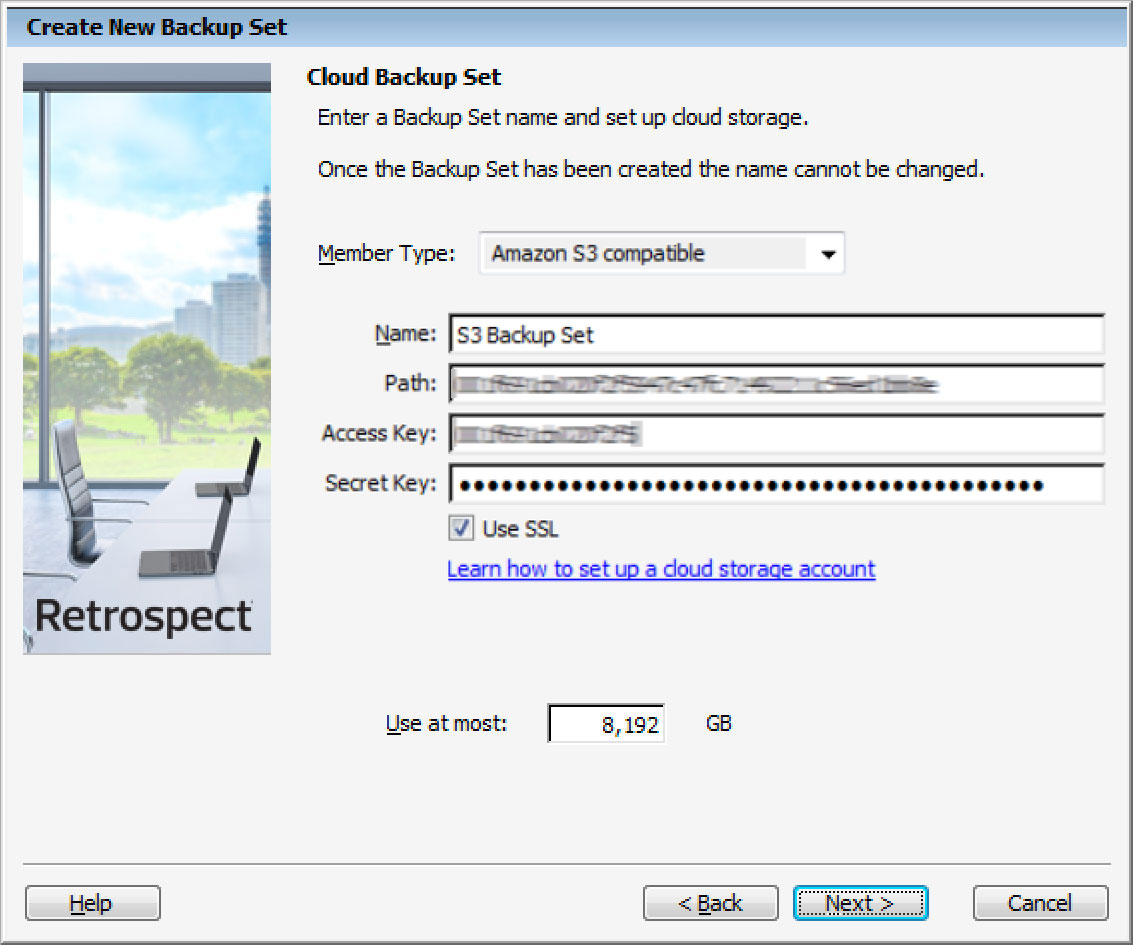
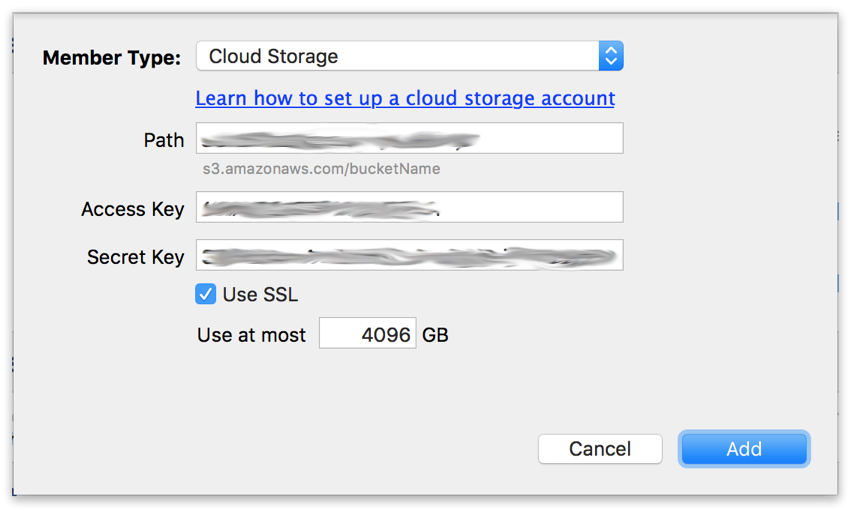
Retrospect needs three pieces of information to access Synology:
Path – url_to_instance:port_number/your_bucket_name
Access Key – Use the Access Key provided by your cloud storage instance.
Secret Key – Use the Secret Key provided by your cloud storage instance.
L'aggiunta del cloud storage come destinazione è semplice. Retrospect ha un nuovo tipo di set chiamato "Cloud". Crea un nuovo set di backup/supporti e seleziona "Cloud" come tipo.
Interfaccia Windows

Interfaccia Mac

Next you’ll need to enter your cloud storage credentials.
Interfaccia Windows
Interfaccia Mac
L'utilizzo del cloud storage è semplice. Dopo aver creato un set di cloud, crea un nuovo script o aggiungilo a uno già esistente e fai clic su "Esegui". Il backup inizierà con i contenuti del set che devono essere caricati nella posizione di archiviazione su cloud. Puoi seguire lo stato di avanzamento dell'esecuzione/attività.
Interfaccia Windows

Interfaccia Mac

La limitazione per il backup e il ripristino su cloud è disponibile nelle Preferenze.
Interfaccia Windows

Interfaccia Mac

Below are a number of tips for using cloud storage in Retrospect:
Strumento di misurazione della larghezza di banda – Misura la larghezza di banda in upload e download con questo strumento gratuito: <a target="_blank" href="http://speedtest.net">Speedtest.net</a>.
Disattivare la verifica di backup – La verifica scaricherà tutti i dati che carichi. Ulteriori informazioni sul perché è consigliabile disattivarla per i backup cloud sono consultabili su <a href="/it/support/kb/best_practices_for_cloud_storage#notes">Backup su Cloud - Best practice per la protezione dei dati con il Cloud Storage</a>.
Last Update: 17 Mag 2018

