Cloud Backup
title: Cloud Backup - How to Set Up Zenko CloudServer for Cloud Backup created_at: 2018.05.17 updated_at: 2018.05.17 category: Cloud Backup --- :toc: macro :toc-title:

Zenko CloudServer (formerly S3 Server) provides a free, open source, scalable cloud storage location for secure on-site data protection. Retrospect 15.1 for Windows and Mac are certified for Zenko CloudServer. Follow these step-by-step instructions for configuring Retrospect to integrate with Zenko CloudServer.

Zenko provides a single unifying interface using the Amazon S3 API, supporting multi-cloud backend data storage both on-premises and in the Amazon S3 public cloud as well as other services, including: Available now for Amazon S3, Scality RING and Docker. You can deploy it on any hardware you prefer. At the end of the setup, you will receive a path, an access key, and a secret key.
You will need a Synology or QNAP NAS that can host Docker instances.
Install Docker.
Download scality/s3server.
Launch scality/s3server via Image in Docker.
In Docker > Container, highlight scality/s3server1 click on "Details". Local port is what is needed to connect.
Create a bucket (folder) using Cyberduck instructions.
Copy down the default access key and secret key.
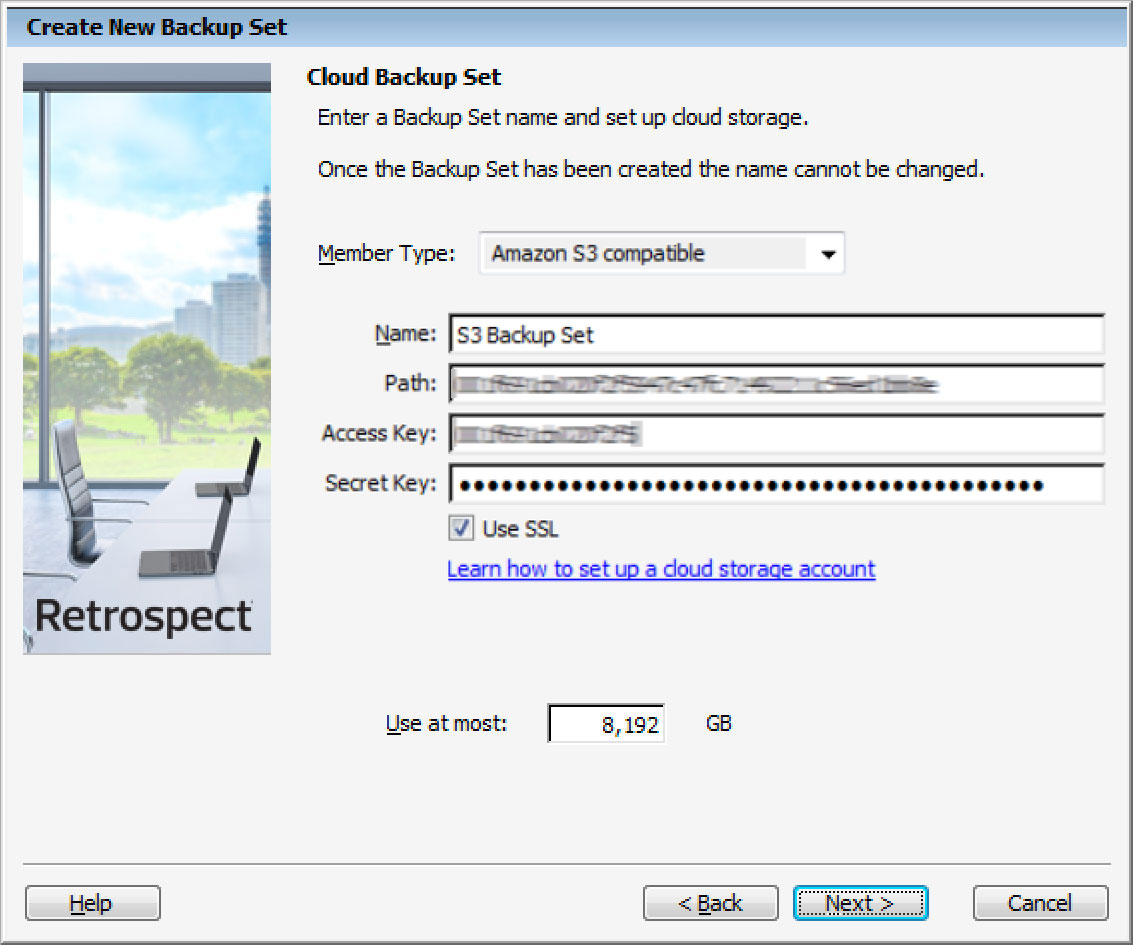
Retrospect needs three pieces of information to access Zenko CloudServer:
Path – url_to_instance:port_number/your_bucket_name
Access Key – Use the Access Key provided by your Zenko CloudServer instance.
Secret Key – Use the Secret Key provided by your Zenko CloudServer instance.
L'aggiunta del cloud storage come destinazione è semplice. Retrospect ha un nuovo tipo di set chiamato "Cloud". Crea un nuovo set di backup/supporti e seleziona "Cloud" come tipo.
Interfaccia Windows

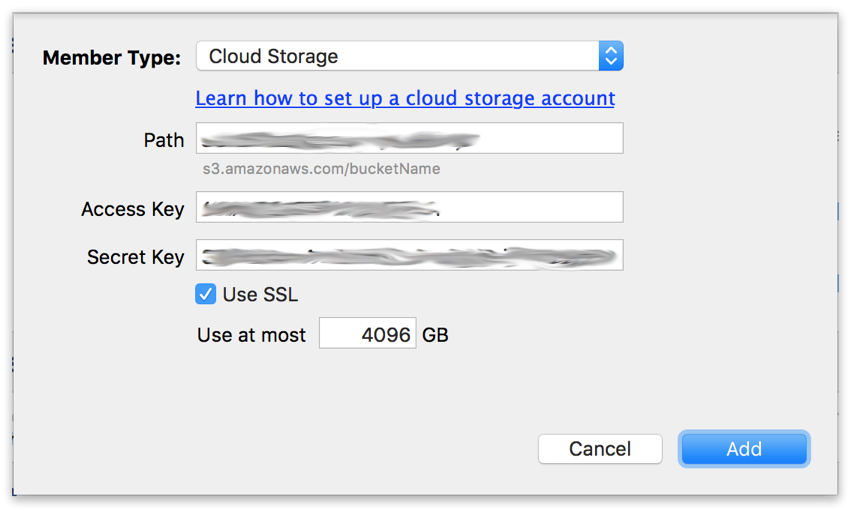
Interfaccia Mac

Next you’ll need to enter your cloud storage credentials.
Interfaccia Windows
Interfaccia Mac
L'utilizzo del cloud storage è semplice. Dopo aver creato un set di cloud, crea un nuovo script o aggiungilo a uno già esistente e fai clic su "Esegui". Il backup inizierà con i contenuti del set che devono essere caricati nella posizione di archiviazione su cloud. Puoi seguire lo stato di avanzamento dell'esecuzione/attività.
Interfaccia Windows

Interfaccia Mac

La limitazione per il backup e il ripristino su cloud è disponibile nelle Preferenze.
Interfaccia Windows

Interfaccia Mac

Below are a number of tips for using cloud storage in Retrospect:
Strumento di misurazione della larghezza di banda – Misura la larghezza di banda in upload e download con questo strumento gratuito: <a target="_blank" href="http://speedtest.net">Speedtest.net</a>.
Disattivare la verifica di backup – La verifica scaricherà tutti i dati che carichi. Ulteriori informazioni sul perché è consigliabile disattivarla per i backup cloud sono consultabili su <a href="/it/support/kb/best_practices_for_cloud_storage#notes">Backup su Cloud - Best practice per la protezione dei dati con il Cloud Storage</a>.
Last Update: 17 Mag 2018

