Cloud Backup
title: Cloud Backup - How to Set Up Retrospect Cloud Storage for Cloud Backup created_at: 2023.01.10 updated_at: 2023.10.13 category: Cloud Backup --- :toc: macro :toc-title:
Retrospect provides a low-cost, scalable cloud storage location for secure off-site data protection. With its Object Lock capabilities, Retrospect Cloud Storage enables customers to lock specific files for a retention period, such that no one, not even the root user on the account, can delete the files until the time has passed.
Retrospect Cloud Storage is available as a subscription license, compatible with both perpetual and subscription licenses. It’s available as tiers of 500GB, 1TB, 5TB, and 10TB. Purchase through Retrospect.com for a free 30-day trial.
Customers can purchase as much storage space as they need, and it will be associated with their account. They can use that cloud storage space anywhere across their infrastructure.
Setting up a Retrospect Cloud Storage account is quick and easy.
Visit Retrospect.com and select "Cloud".
Purchase a Retrospect Cloud Storage license through Retrospect.com or through a Retrospect partner.
After you receive your license, go to Retrospect Management Console.
Go to "Settings" and find your current Retrospect Backup instance. If you don’t have one, click "Add Server" under "Organizations" and type in a name.

On the server page, click "Add License" and add the Retrospect Cloud Storage license.

Retrospect Management Console will provision an account for you and display it below.
Retrospect Backup is fully integrated with Retrospect Cloud Storage through Retrospect Management Console. Retrospect Backup uses three pieces of information to access your storage:
Path – s3.us-west-1.retrospectcloud.com/your_bucket_name (or applicable region)
Access Key – Use the Access Key from above.
Secret Key – Use the Secret Key from above.
This information is managed in Retrospect Management Console and accessible under Settings > Machines.
To integrate multiple Retrospect Backup or Retrospect Virtual instances with Retrospect Cloud Storage, you can type the above information into the Backup Set wizard to set up a new cloud backup set.
If you receive the error "These credentials are not valid", your URL might not be correct. Please verify that it includes the region.
クラウドストレージを宛先として追加する方法はシンプルです。Retrospect には「クラウド」と呼ばれる新しいセットタイプがあります。新規のバックアップセット/メディアセットを作成して、タイプに「クラウド」を選択してください。
Windows インターフェイス

Mac インターフェイス

Next you’ll need to enter your cloud storage credentials. Retrospect allows customers to set the maximum storage usage, up to 100TB. If you have an existing bucket, type it into "Bucket". Otherwise, leave that field blank, and Retrospect will walk through creating a new one.
Windows インターフェイス

Mac インターフェイス

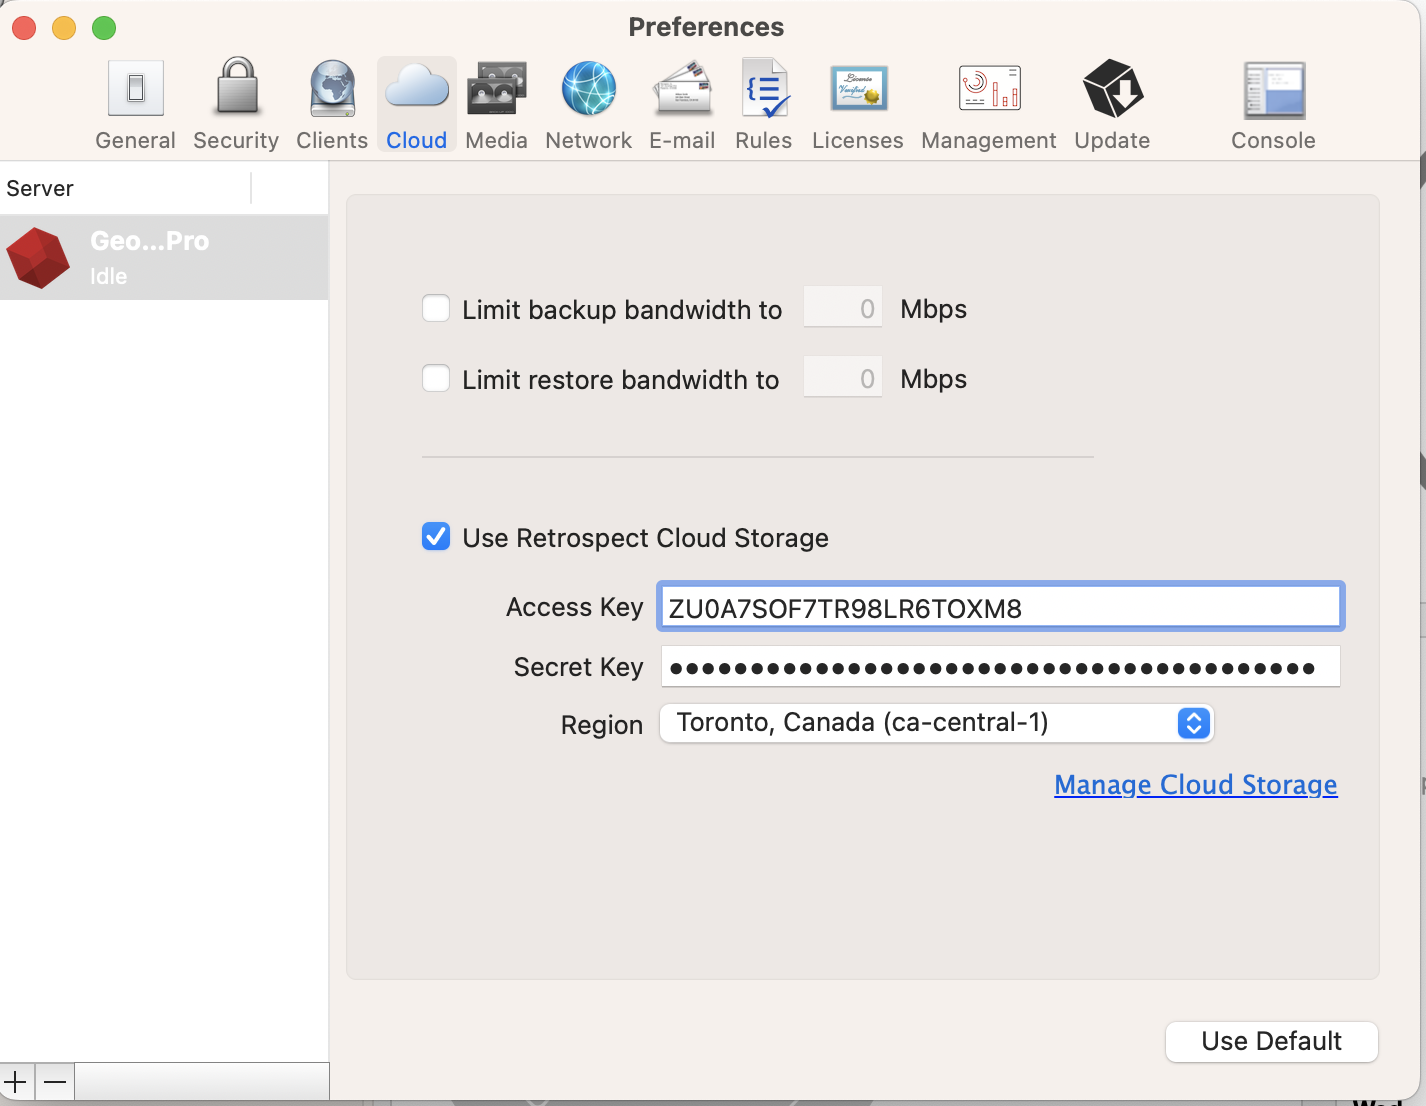
You can also visit Preferences to see your Retrospect Cloud Storage settings.
Windows インターフェイス

Mac インターフェイス
クラウドストレージの使用方法はシンプルです。クラウドセットを作成した後、新規スクリプトを作成するかそのクラウドセットを既存のスクリプトに追加して、「実行」をクリックしてください。バックアップが開始し、そのセットの内容が自分のクラウドストレージの場所にアップロードされます。実行/アクティビティの進行状況を追跡することができます。
Windows インターフェイス

Mac インターフェイス

環境設定で、クラウドバックアップおよびクラウド復元のための帯域幅調整が可能です。
Windows インターフェイス

Mac インターフェイス

Below are a number of tips for using cloud storage in Retrospect:
帯域幅計測ツール – この無料ツールでアップロードとダウンロードの帯域を計測しましょう: Speedtest.net。
バックアップの検証を無効化する – 検証を行うと、アップロードした全てのデータをもう一度ダウンロードします。クラウドバックアップではなぜこの機能を無効化した方が良いのか、詳細はクラウドバックアップ - クラウドストレージによるデータ保護のベストプラクティスでご確認ください。
Direct Access: To access your Retrospect Cloud Storage account directly, you can use a tool like Cyberduck with the path and credential information from Retrospect Management Console’s Settings page.
Last Update: 2023年10月13日

