Cloud Backup
title: Cloud Backup - How to Set Up Backblaze B2 (S3 API) for Cloud Backup created_at: 2017.02.02 updated_at: 2023.01.09 category: Cloud Backup --- :toc: macro :toc-title:

Backblaze B2 is a business-class cloud storage provider with extremely low costs, at $0.005/GB a month or $5/TB a month. Retrospect 17.5 for Windows and Mac are certified for Backblaze B2 (S3 API). Follow these step-by-step instructions for setting up a Backblaze B2 (S3 API) account and adding it to Retrospect.
Please note that buckets created before May 4, 2020 cannot be used with Backblaze S3 Compatible APIs.
NOTE: Please note that the Native API is the Legacy API for Backblaze and you should use the S3 API if possible. For the Native API - Legacy instructions, see How to Set Up Backblaze B2 (Native API - Legacy) for Cloud Backup.
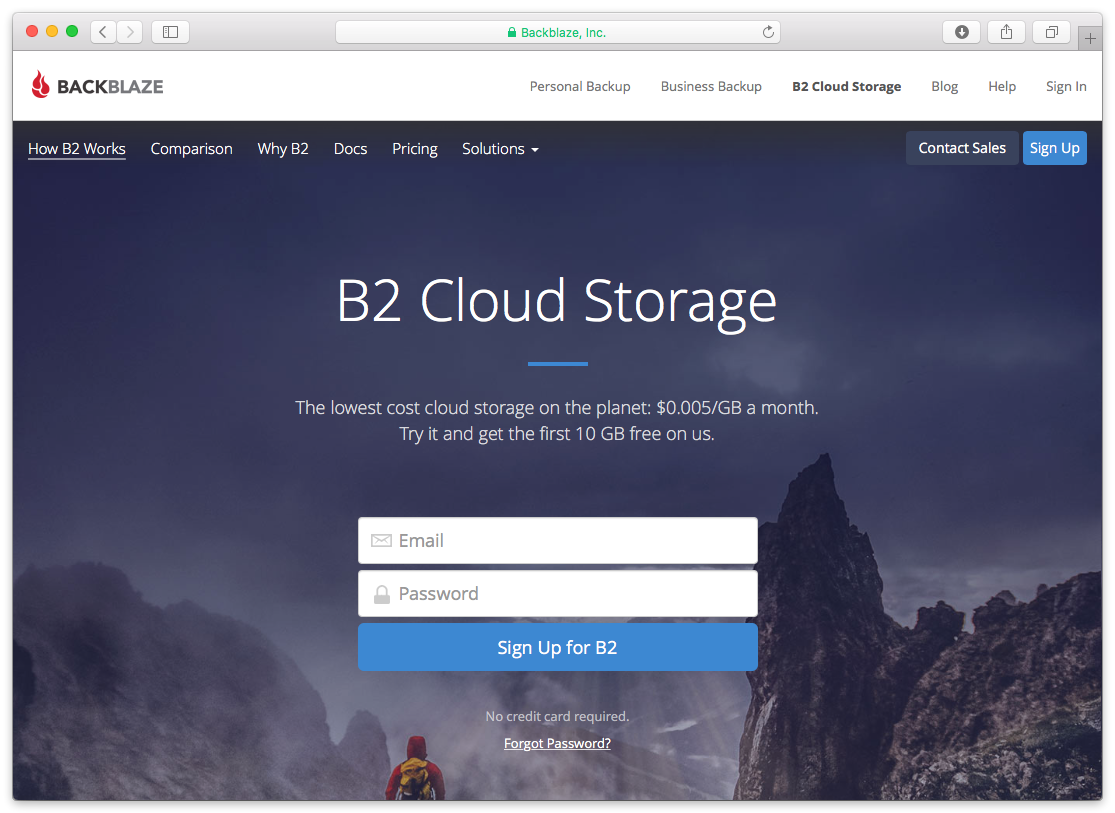
Setting up a Backblaze B2 account is quick and easy.
Visit Backblaze B2. Type in your email address and password and click "Sign up for B2".
Backblaze B2 requires a valid phone number, so you’ll need to verify yours with a text message. This also allows you to set up two-factor authentication for added security.
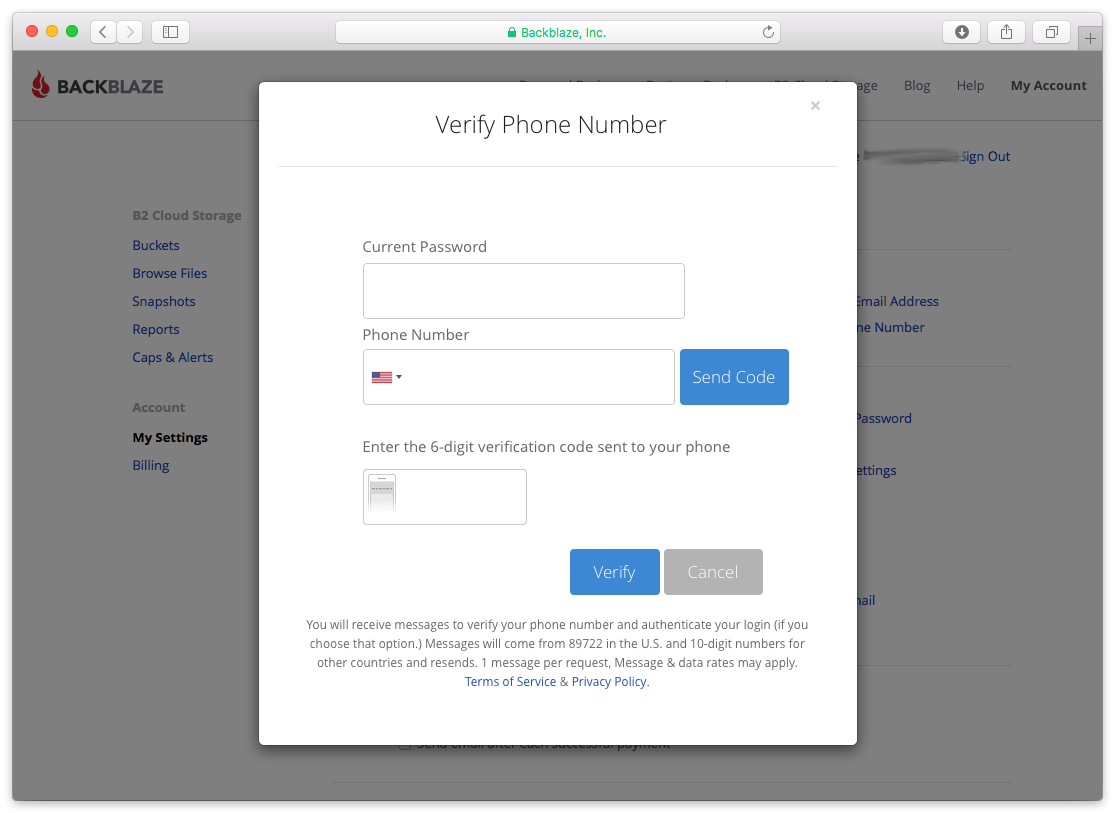
After verifying your phone number, you’ll see your new Backblaze B2 account page.

Retrospect needs these pieces of information to access Backblaze B2.
Path – s3.us-west-001.backblazeb2.com/your_bucket_name (using the endpoint URL listed in Backblaze "Buckets" page)
Access Key: Use the Application Key ID (keyID).
Secret Key: Use the Application Key (applicationKey).
The S3 Compatible API does not support the master key but does support application-specific keys. You’ll need to click "Add a New Application Key" under "App Keys" to get the "Application Key ID" (KeyID) and the "Application Key" (applicationKey).


The path is listed as "Endpoint" under the bucket description on your Backblaze "Buckets" page.
クラウドストレージを宛先として追加する方法はシンプルです。Retrospect には「クラウド」と呼ばれる新しいセットタイプがあります。新規のバックアップセット/メディアセットを作成して、タイプに「クラウド」を選択してください。
Windows インターフェイス

Mac インターフェイス

Next you’ll need to enter your cloud storage credentials. Retrospect allows customers to set the maximum storage usage, up to 100TB. If you have an existing bucket, type it into "Bucket". Otherwise, leave that field blank, and Retrospect will walk through creating a new one.
Windows インターフェイス

Mac インターフェイス

クラウドストレージの使用方法はシンプルです。クラウドセットを作成した後、新規スクリプトを作成するかそのクラウドセットを既存のスクリプトに追加して、「実行」をクリックしてください。バックアップが開始し、そのセットの内容が自分のクラウドストレージの場所にアップロードされます。実行/アクティビティの進行状況を追跡することができます。
Windows インターフェイス

Mac インターフェイス

環境設定で、クラウドバックアップおよびクラウド復元のための帯域幅調整が可能です。
Windows インターフェイス

Mac インターフェイス

Retrospect Backup supports integration with B2 Fireball. However, when doing this backup, it will be important that you create a Cloud Backup Set and not a Disk Backup set for the Fireball device.
Below are a number of tips for using cloud storage in Retrospect:
帯域幅計測ツール – この無料ツールでアップロードとダウンロードの帯域を計測しましょう: <a target="_blank" href="http://speedtest.net">Speedtest.net</a>。
バックアップの検証を無効化する – 検証を行うと、アップロードした全てのデータをもう一度ダウンロードします。クラウドバックアップではなぜこの機能を無効化した方が良いのか、詳細は<a href="/ja/support/kb/best_practices_for_cloud_storage#notes">クラウドバックアップ - クラウドストレージによるデータ保護のベストプラクティス</a>でご確認ください。
Disabling Multiple Versions in Lifecycle
In some cases, Retrospect Backup will receive an error during upload and need to retry. You need to set your bucket’s lifecycle to "Keep only the last version". Otherwise, B2 might store retain the prior incomplete copies of your RDB file, and B2 will charge you for this space.
See this example of B2 storing multiple verisons:

You can find a bucket’s lifecycle settings here:

Last Update: 2023年01月09日

