Cloud Backup
title: Cloud Backup - How to Set Up Backblaze B2 (S3 API) for Cloud Backup created_at: 2017.02.02 updated_at: 2023.01.09 category: Cloud Backup --- :toc: macro :toc-title:

Backblaze B2 is a business-class cloud storage provider with extremely low costs, at $0.005/GB a month or $5/TB a month. Retrospect 17.5 for Windows and Mac are certified for Backblaze B2 (S3 API). Follow these step-by-step instructions for setting up a Backblaze B2 (S3 API) account and adding it to Retrospect.
Please note that buckets created before May 4, 2020 cannot be used with Backblaze S3 Compatible APIs.
NOTE: Please note that the Native API is the Legacy API for Backblaze and you should use the S3 API if possible. For the Native API - Legacy instructions, see How to Set Up Backblaze B2 (Native API - Legacy) for Cloud Backup.
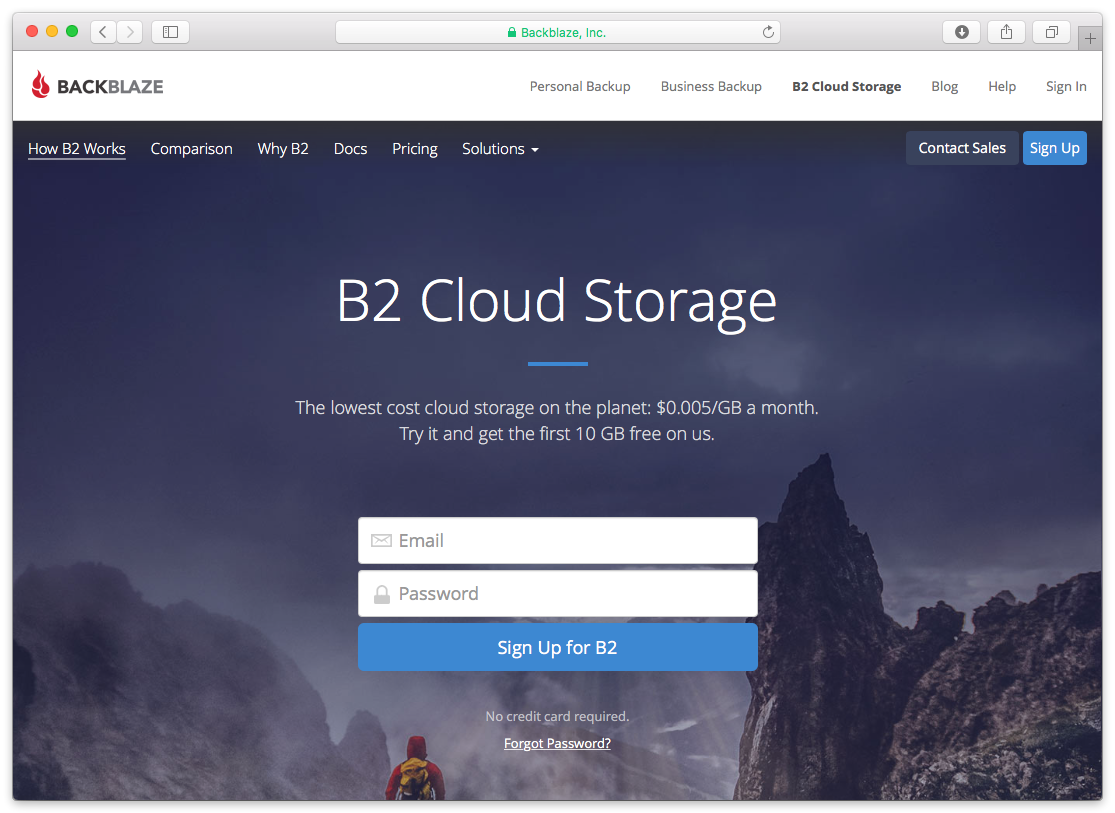
Setting up a Backblaze B2 account is quick and easy.
Visit Backblaze B2. Type in your email address and password and click "Sign up for B2".
Backblaze B2 requires a valid phone number, so you’ll need to verify yours with a text message. This also allows you to set up two-factor authentication for added security.
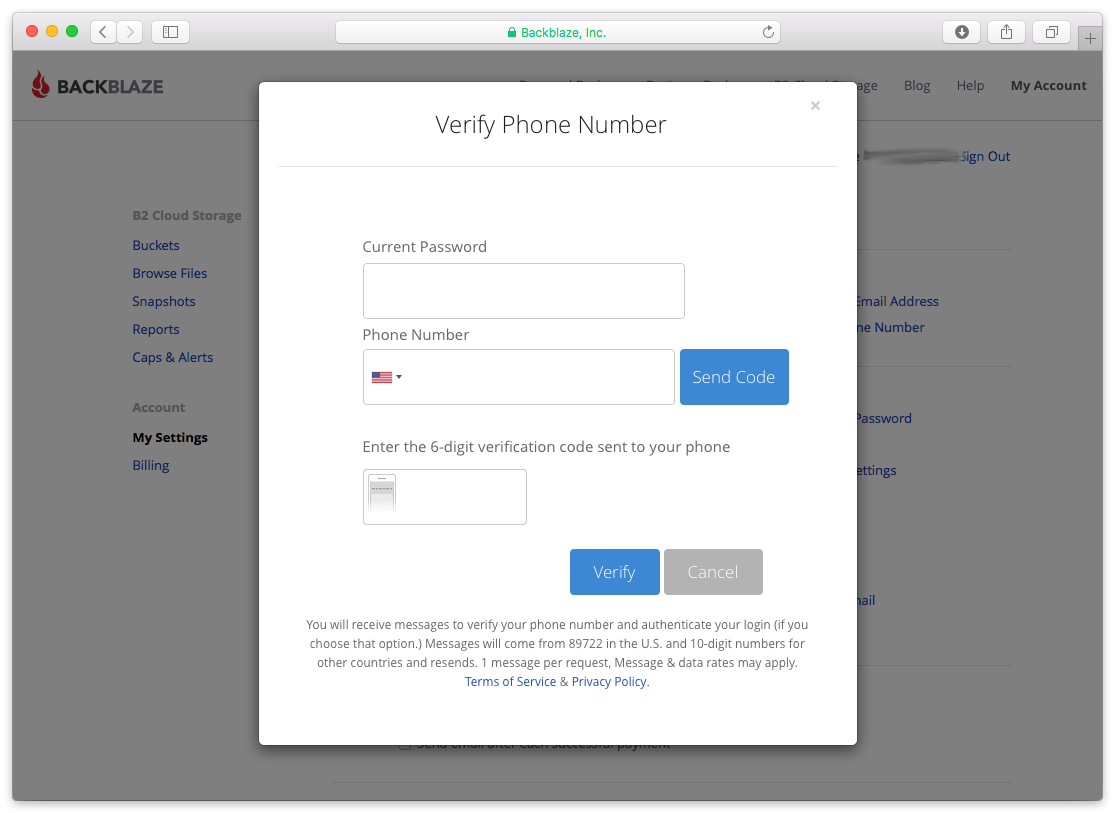
After verifying your phone number, you’ll see your new Backblaze B2 account page.

Retrospect needs these pieces of information to access Backblaze B2.
Path – s3.us-west-001.backblazeb2.com/your_bucket_name (using the endpoint URL listed in Backblaze "Buckets" page)
Access Key: Use the Application Key ID (keyID).
Secret Key: Use the Application Key (applicationKey).
The S3 Compatible API does not support the master key but does support application-specific keys. You’ll need to click "Add a New Application Key" under "App Keys" to get the "Application Key ID" (KeyID) and the "Application Key" (applicationKey).


The path is listed as "Endpoint" under the bucket description on your Backblaze "Buckets" page.
Einen Cloudspeicher als ein Backup-Ziel hinzuzufügen, ist ganz einfach. Retrospect hat einen neuen Set-Typus, der sich "Cloud" nennt. Richten Sie ein neues Backup-Set/Medien-Set ein und wählen Sie als Typus "Cloud".
Windows-Oberfläche

Mac-Oberfläche

Next you’ll need to enter your cloud storage credentials. Retrospect allows customers to set the maximum storage usage, up to 100TB. If you have an existing bucket, type it into "Bucket". Otherwise, leave that field blank, and Retrospect will walk through creating a new one.
Windows-Oberfläche

Mac-Oberfläche

Den Cloudspeicher können Sie ganz leicht nutzen. Nachdem Sie Ihr Cloud-Set erstellt haben, erstellen Sie ein neues Skript oder fügen es einem bereits vorhandenen hinzu und klicken auf „Ausführen“. Das Backup beginnt und die Inhalte Ihres Sets werden auf den Cloudspeicherplatz hochgeladen. Sie können den Fortschritt unter Ausführung/Aktivität verfolgen.
Windows-Oberfläche

Mac-Oberfläche

Eine Drosselung für das Cloud-Backup und die Cloud-Wiederherstellung lässt sich unter Einstellungen einrichten.
Windows-Oberfläche

Mac-Oberfläche

Retrospect Backup supports integration with B2 Fireball. However, when doing this backup, it will be important that you create a Cloud Backup Set and not a Disk Backup set for the Fireball device.
Below are a number of tips for using cloud storage in Retrospect:
Tool zur Messung der Bandbreite – Messen Sie Ihre Upload- und Download-Bandbreite mit diesem kostenlosen Tool: <a target="_blank" href="http://speedtest.net">Speedtest.net</a>.
Sicherungsüberprüfung deaktivieren – Die Überprüfung wird alle Daten herunterladen, die Sie hochladen. Erfahren Sie mehr darüber, warum Sie diese Funktion für die Cloud-Sicherungen in <a href="/de/support/kb/best_practices_for_cloud_storage#notes">Cloud-Backup – Die beste Art, Daten über einen Cloudspeicher zu schützen</a> deaktivieren sollten.
Disabling Multiple Versions in Lifecycle
In some cases, Retrospect Backup will receive an error during upload and need to retry. You need to set your bucket’s lifecycle to "Keep only the last version". Otherwise, B2 might store retain the prior incomplete copies of your RDB file, and B2 will charge you for this space.
See this example of B2 storing multiple verisons:

You can find a bucket’s lifecycle settings here:

Last Update: 09. Januar 2023

